Importing Excel/CSV files#
To gain valuable insights from your data through advanced analytics, the first step is to import the data into the ConverSight platform. This tutorial will guide you through the process of importing data into ConverSight.
To watch the video, click on Importing Data into ConverSight platform.
Step 1: Open your Data Source
To begin the data import process, you must first connect/open to your data source. This will provide you with the necessary visibility and control over your data, allowing you to view, edit and modify it prior to importing it into the ConverSight platform.
Step 2: Identify the Data for Import
In this step, you will identify and select the data you wish to import from the data source. This may involve specifying the relevant tables or columns and, in some cases, using filters or transformations to refine the data prior to importation.
Step 3: Login to the ConverSight Platform
To import data into the ConverSight platform, you must first log in to your organization’s subdomain on ConverSight.ai. To do so, enter the necessary credentials and you will be redirected to the appropriate screen.
Subdomain#
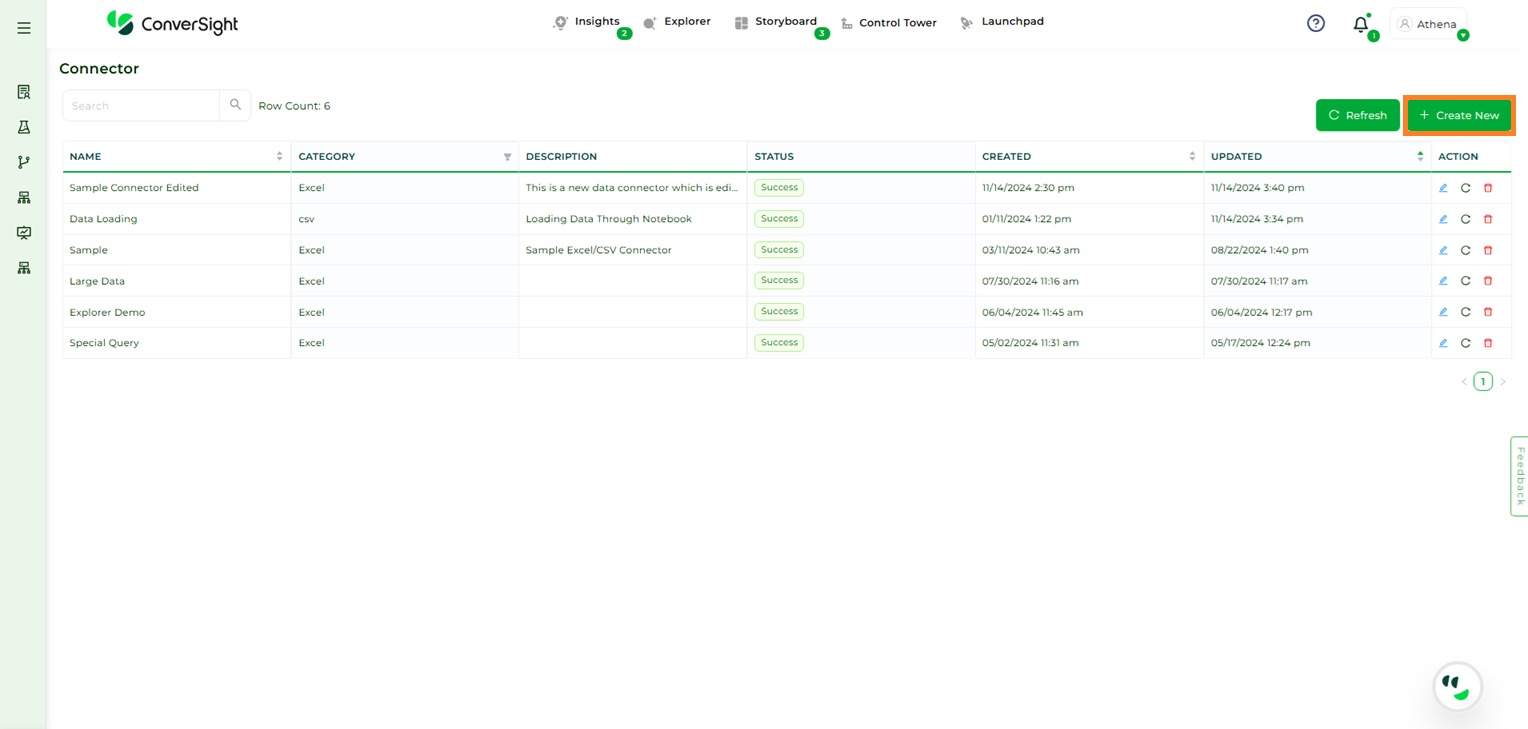
Step 4: Importing Data
To initiate the data import process, navigate to the Configuration panel and select Data Connectors under the Data Workbench section.
Data Connectors Option#
On the Data Connectors page, click the + Create New button to begin.
Create New Connector#
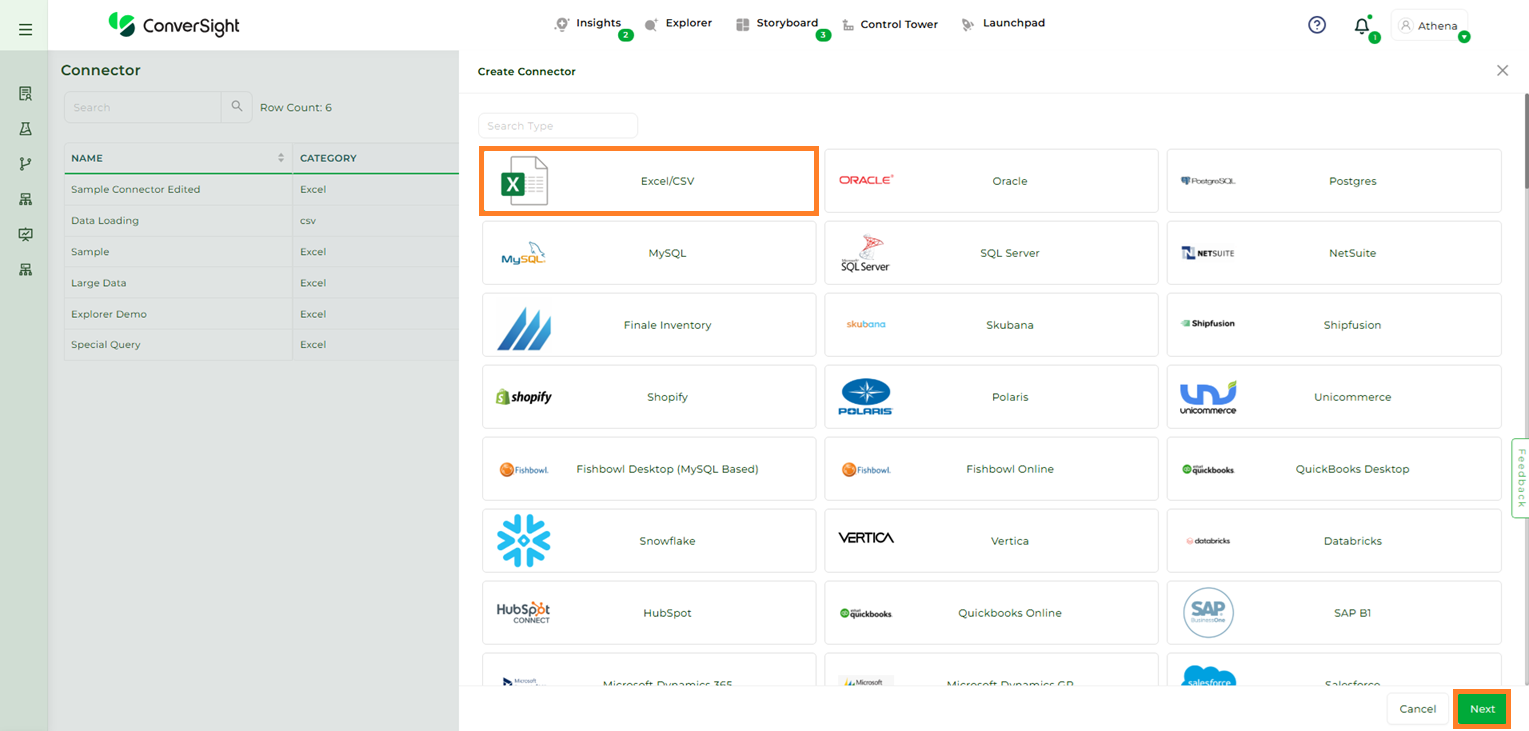
Select the Excel/CSV data connector and click Next to continue.
Excel/CSV Connector#
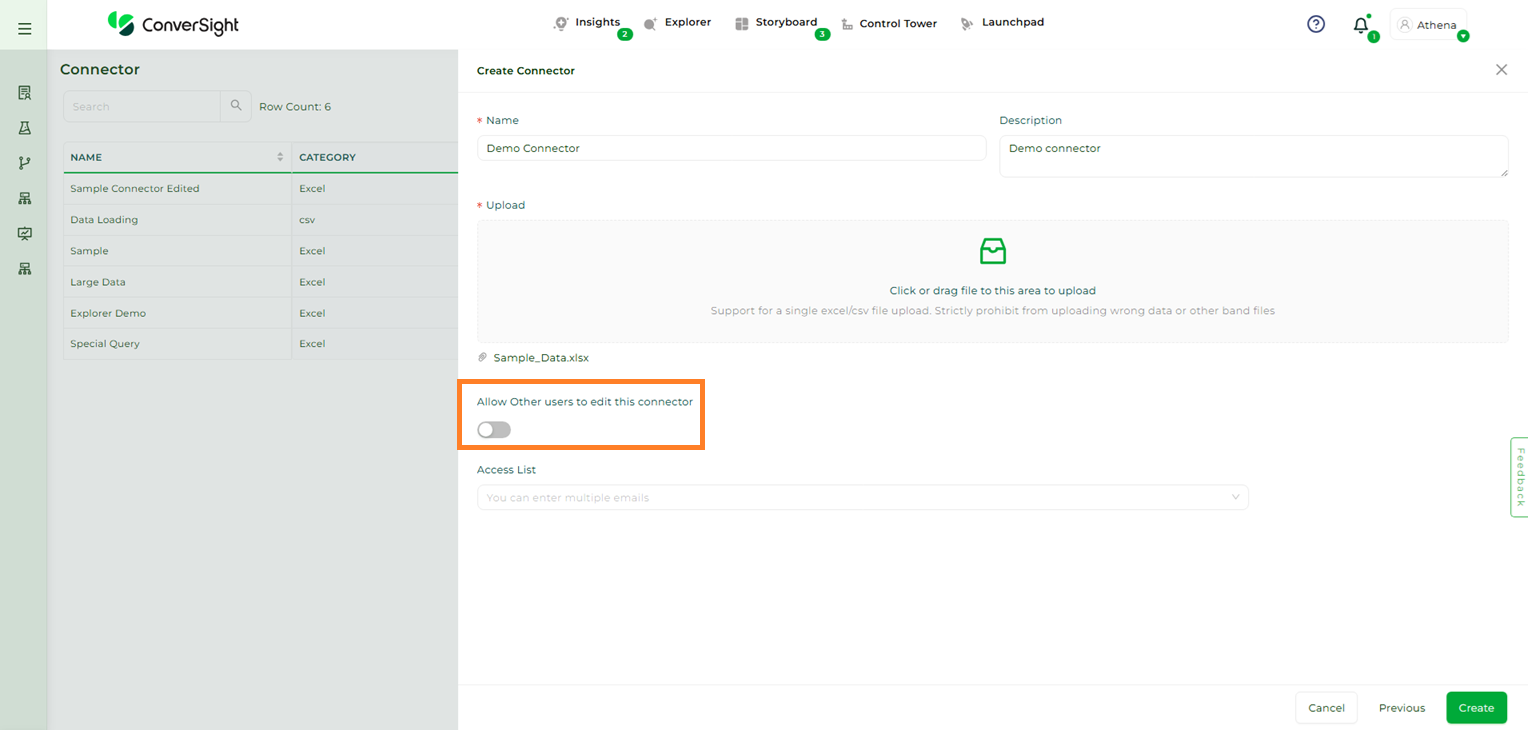
Provide a name and description for the data connector, then upload the required file. Files can be uploaded either by browsing your system or by using the drag-and-drop option.

Connector Details#
Allow other users to edit this connector: Enable this toggle to allow all users in your organization to edit the data connector you created.
Allow other users to edit this connector#
Access List: Use the dropdown to grant edit access to specific users instead of all users in the organization.

Access List#
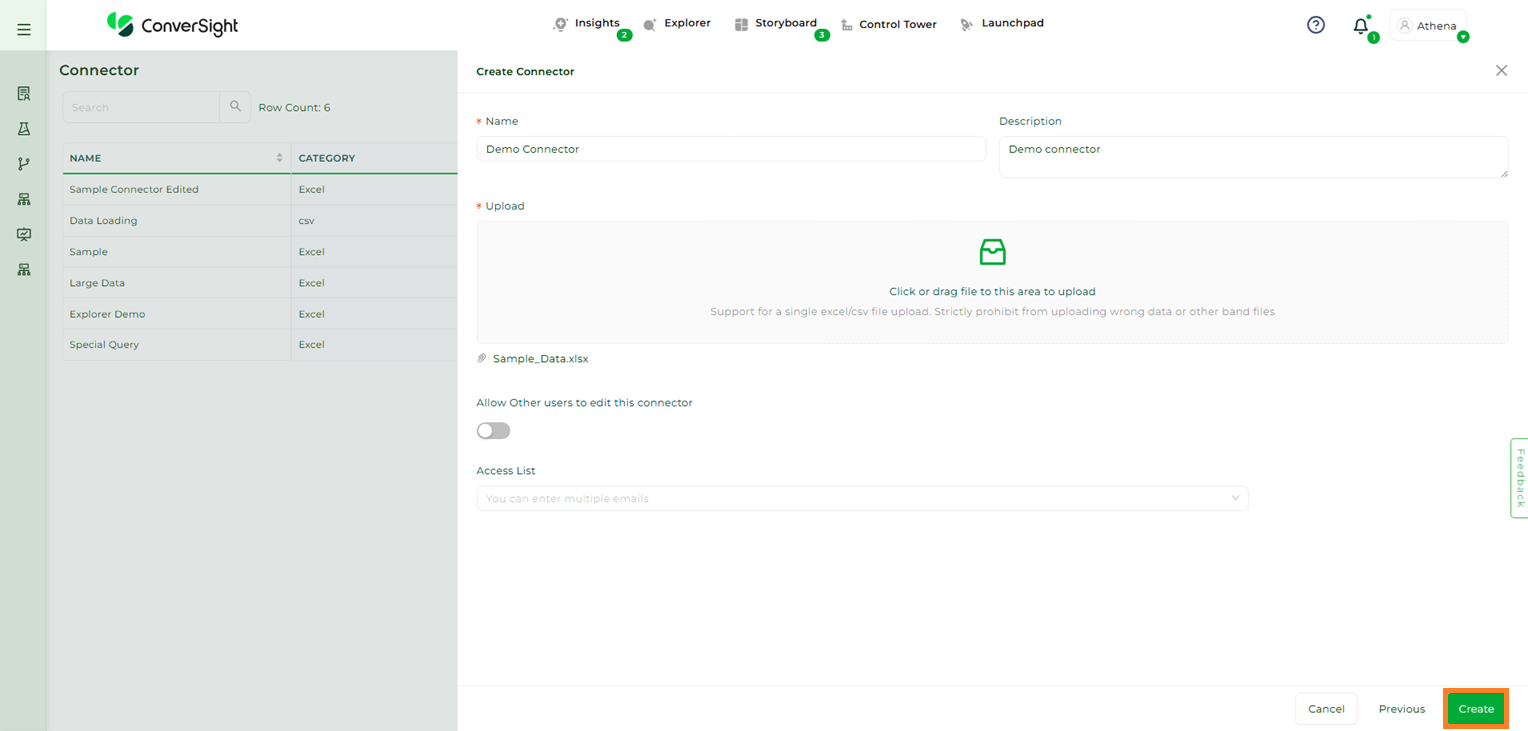
Once done click on the Create button.
Access List#
NOTE
Data import may fail if the uploaded file contains invalid data or incorrect data format.
Step 5: Verify the Data Import
After importing the data, it is important to verify its accuracy. To do this, you can check the status of the data connection on the Data Workbench -> Data Connectors page. ConverSight conducts a series of validation checks to guarantee the quality of the insights and analytics produced. Once the status changes from Created to Success, it indicates that the data import has been successful.
NOTE
A pop-up message will notify you that "Success - Your Connector is ready for use".
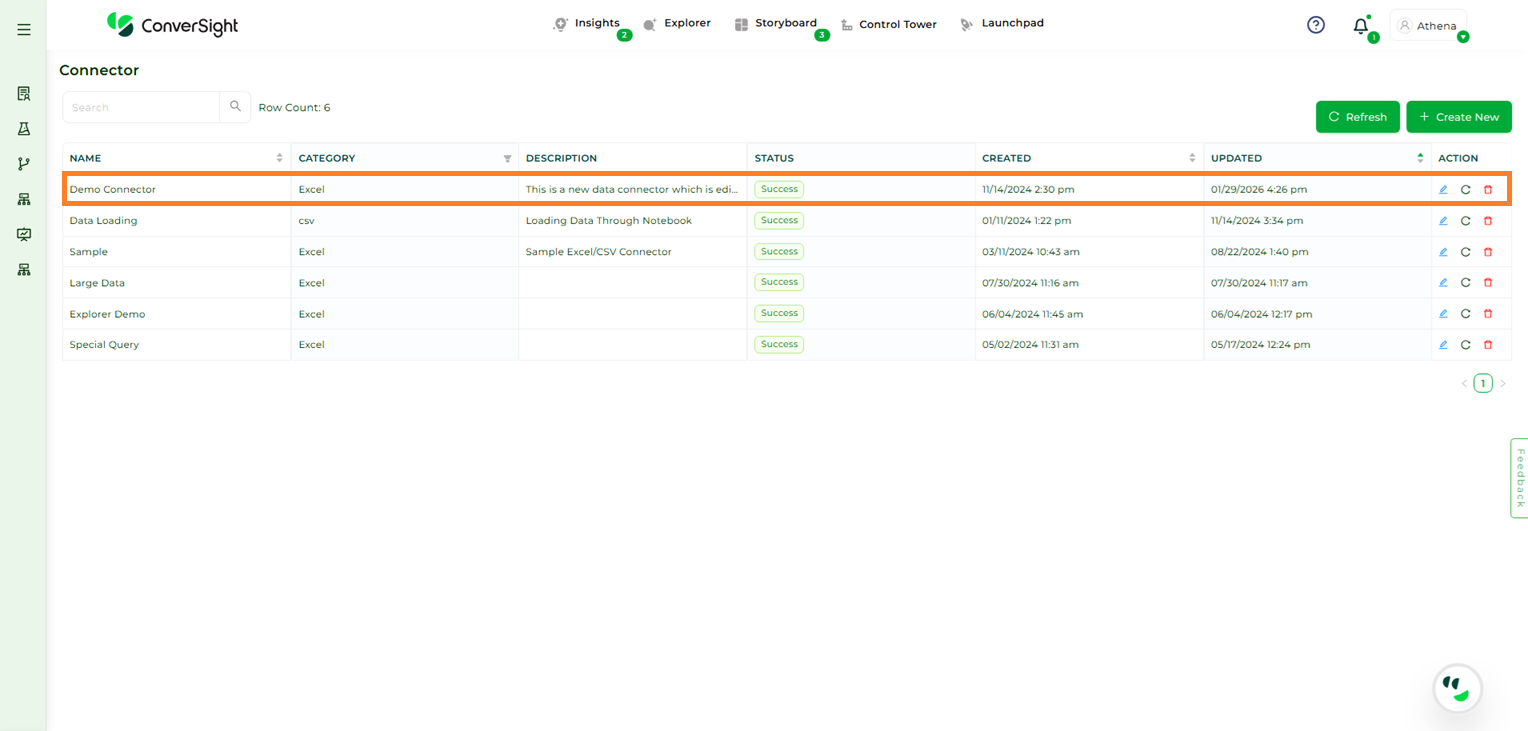
Data Connector Created#