Creating Users#
Creating users in ConverSight allows organizations to securely manage access to platform features and data based on defined roles. This ensures that each user has the appropriate permissions aligned with their responsibilities, while maintaining governance and security standards. The user management process is designed to be simple and efficient, enabling Org Admins to quickly onboard team members, assign roles, and control access to insights and data assets across the platform.
NOTE
Only Org Admins can create Users and Data Admins.
Step 1: Accessing the Platform as an Organization Administrator
After logging in successfully, you will be directed to the Insights page of the ConverSight platform.
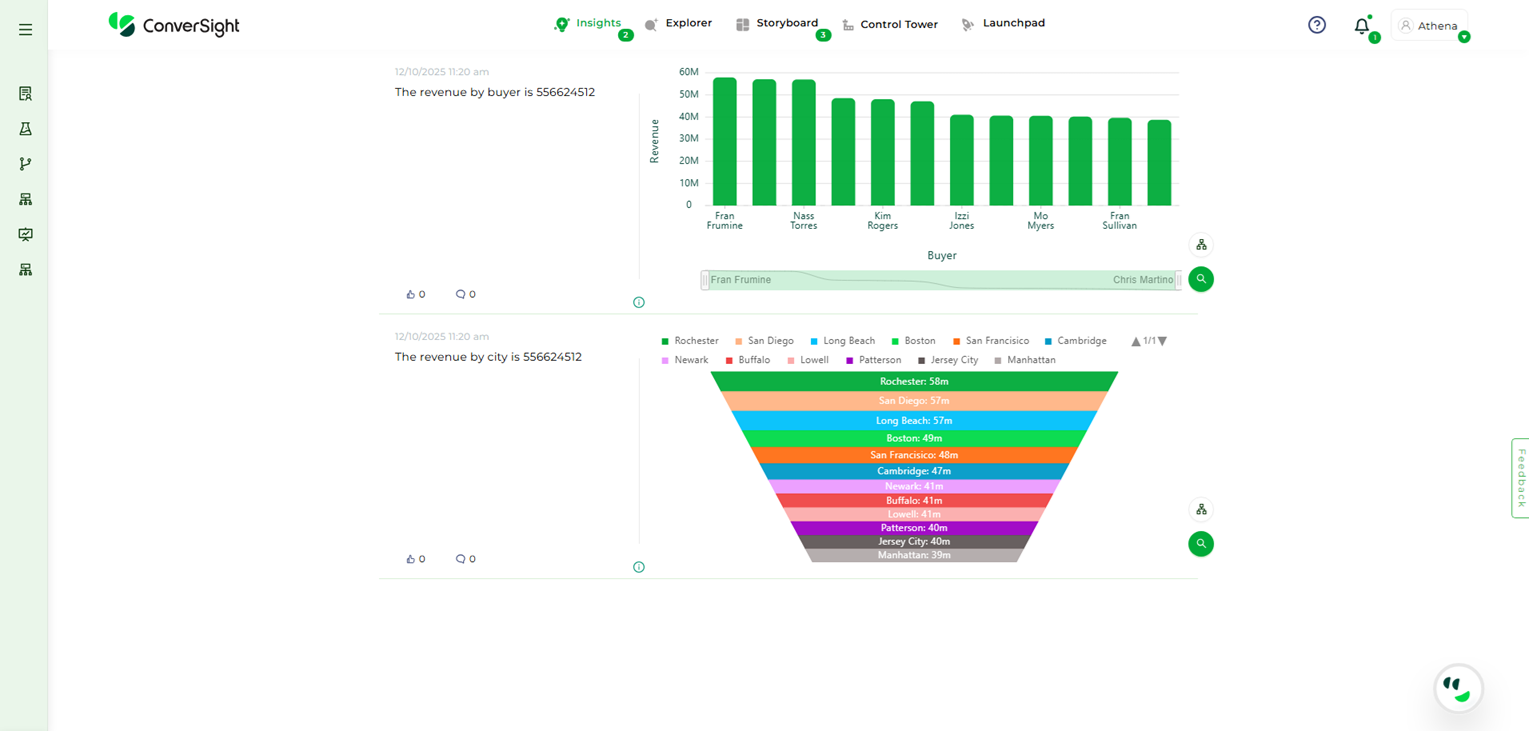
Insights Page#
Step 2: Data Governance
From the left configuration panel, click the Data Governance option under the Data Management menu.
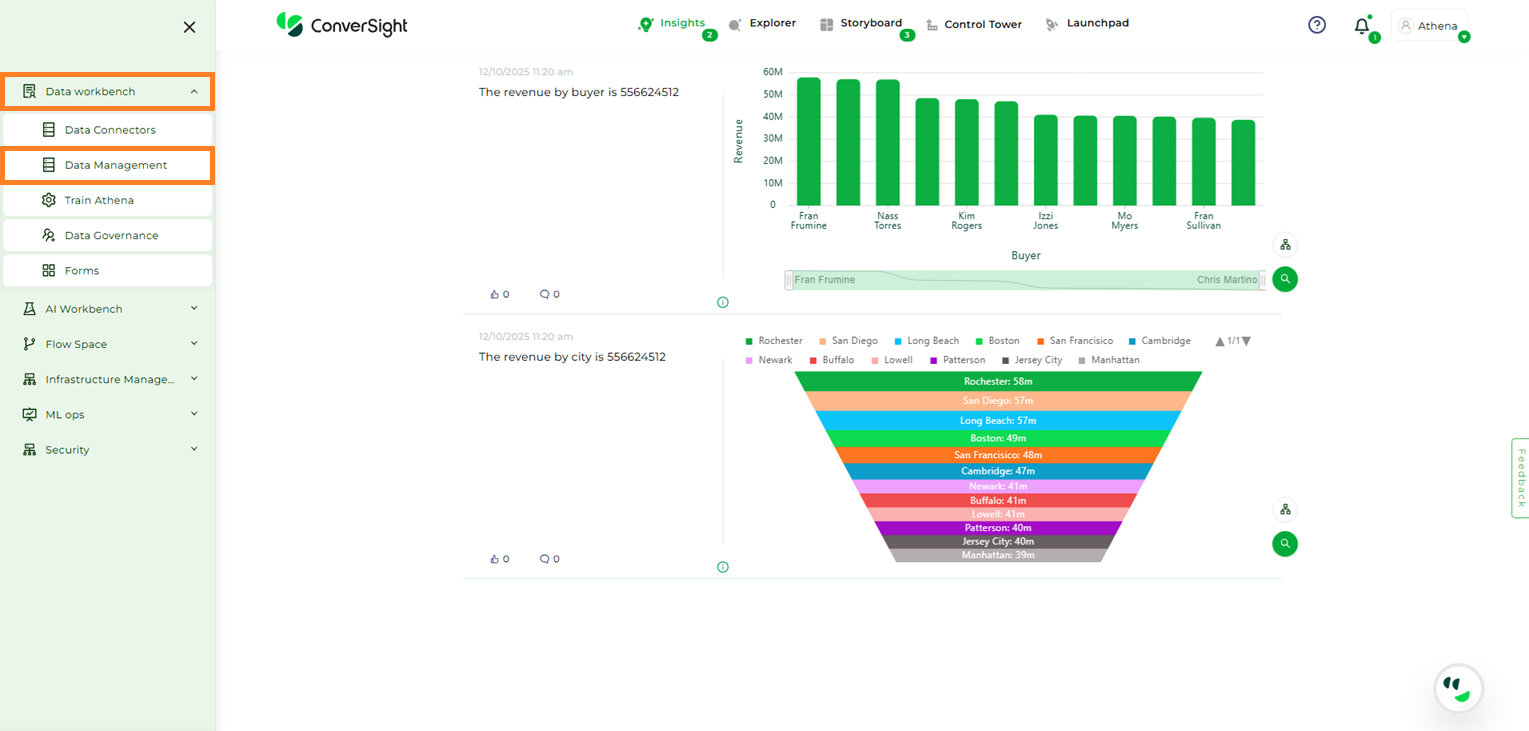
Data Management#
Step 3: Creating New Users
Click the + Create New button to start creating a new user or to grant access to data personnel within your organization.
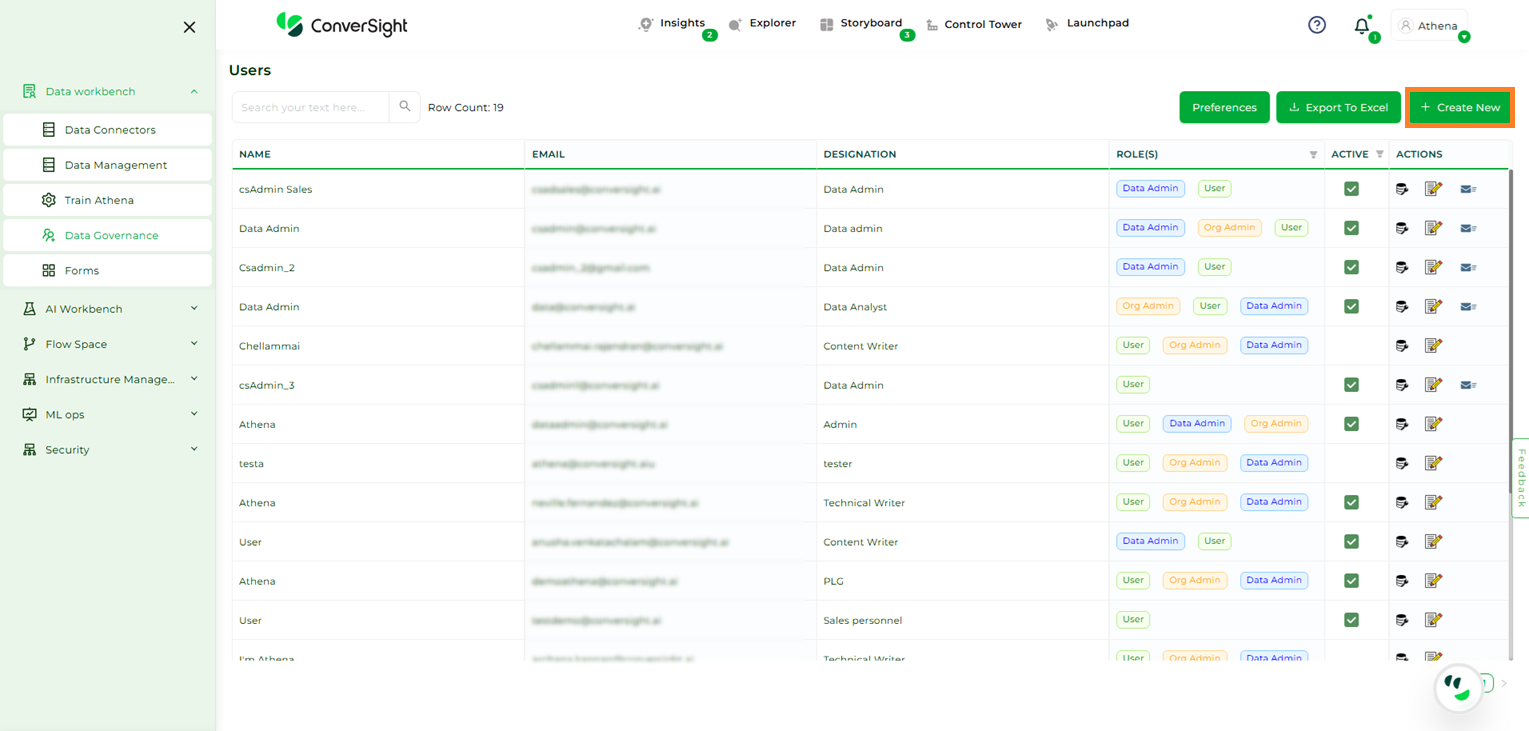
Creating New Users#
Step 4: Enter Basic Details
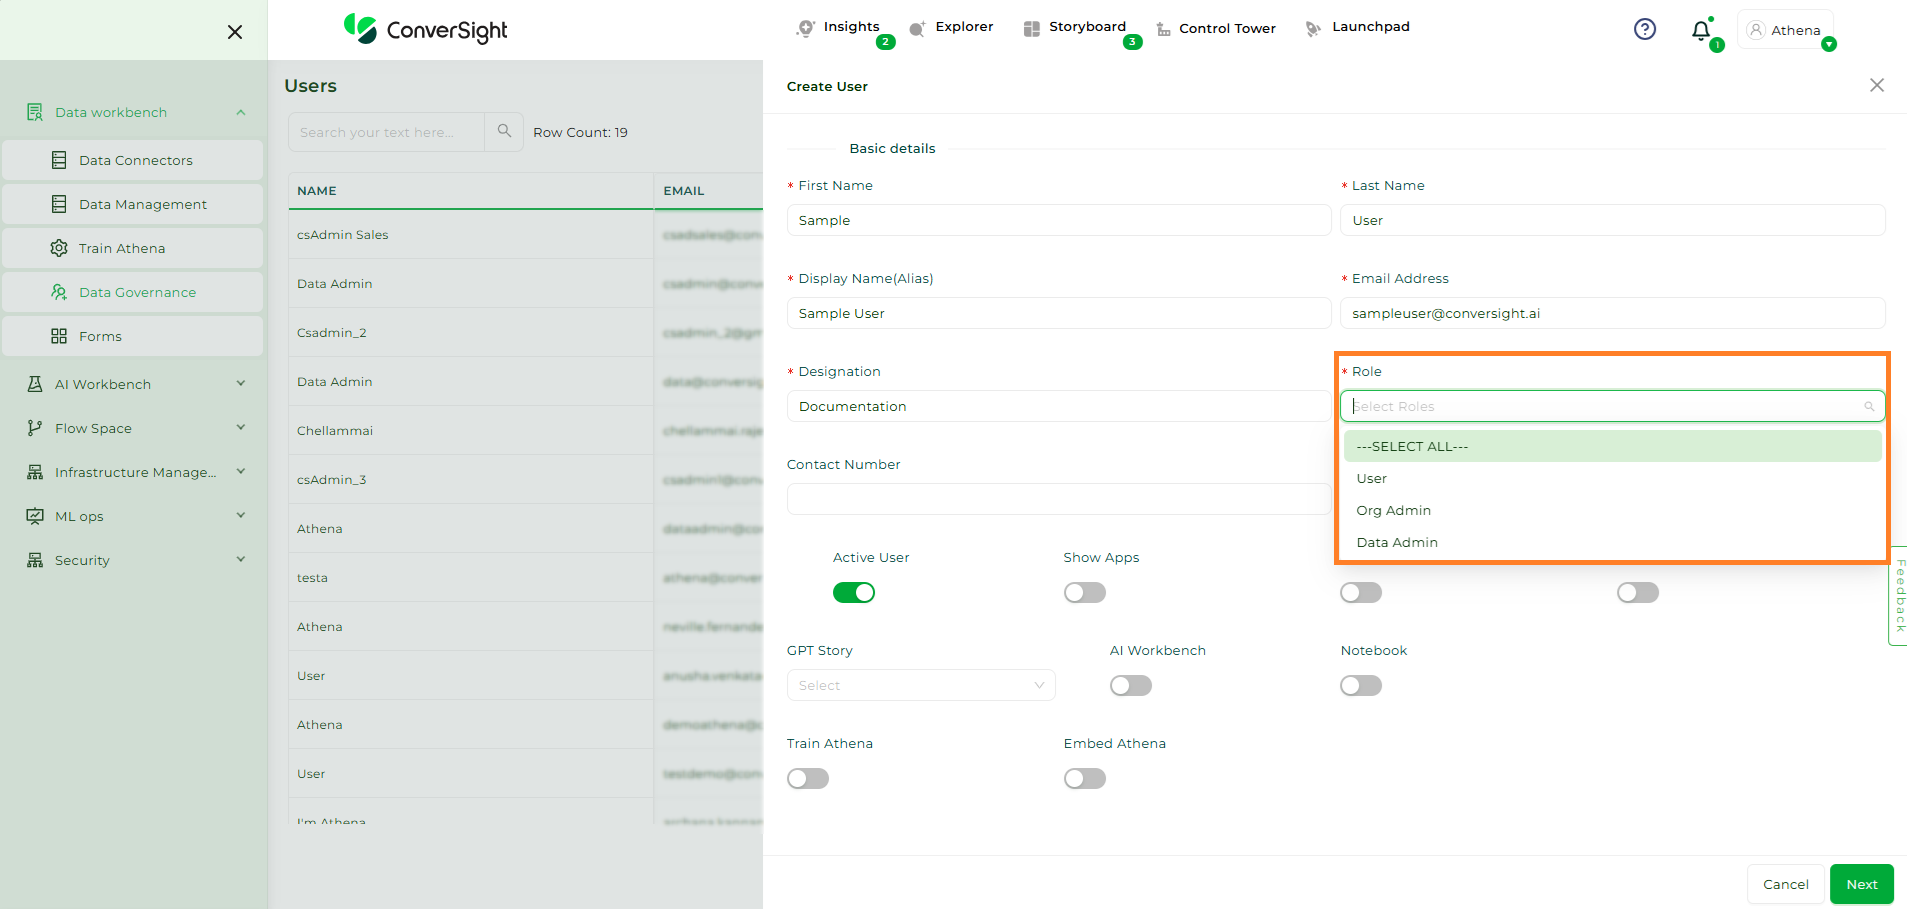
On the Create User page, enter the user’s basic information, including their first name, last name, display name, email address, designation, assigned role, and contact number. Ensure all details are accurate, as this information is used to identify the user and define their access within the ConverSight platform.
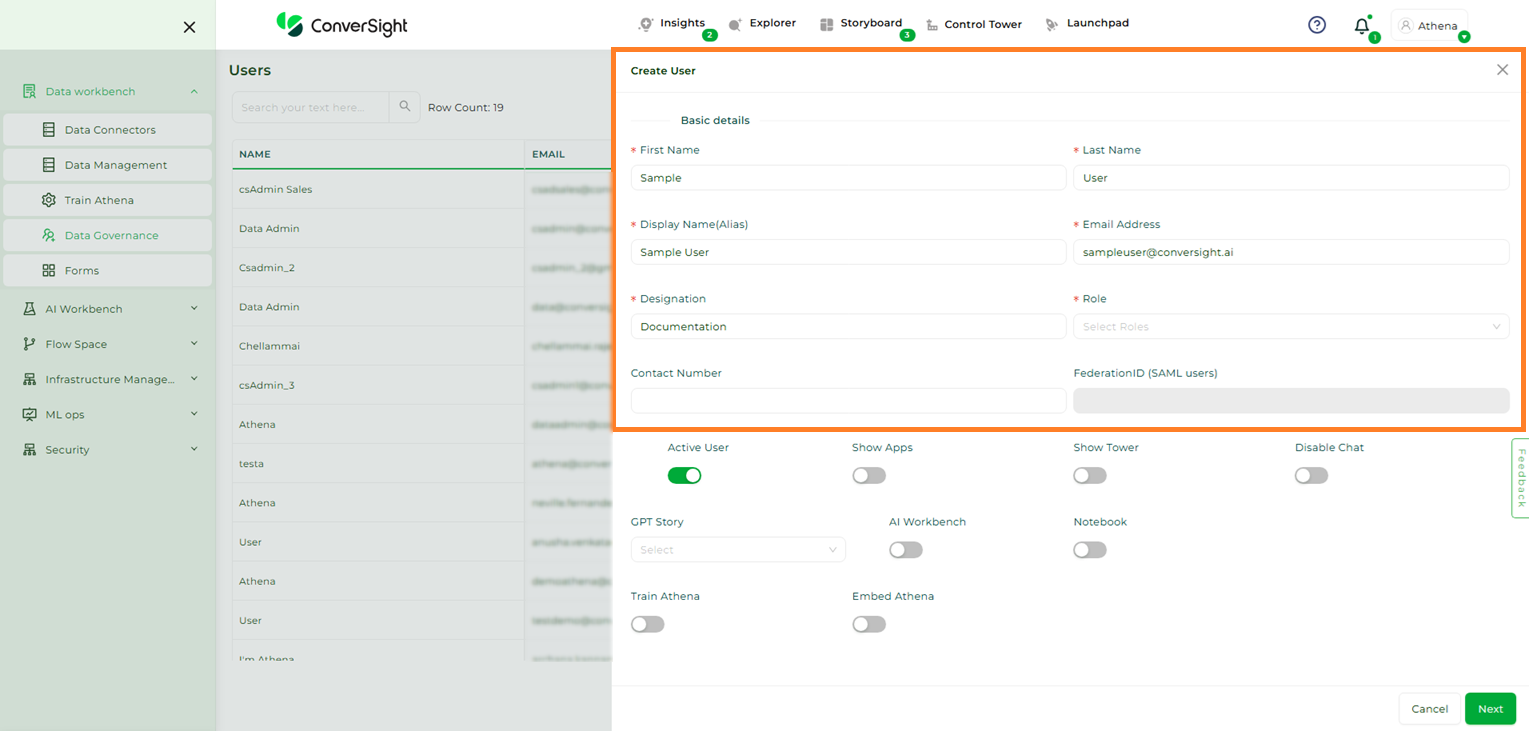
Creating New Users#
Step 5: Assign Roles
ConverSight has three predefined roles: User, Data Admin, and Org Admin.
User: Provides access to Insights, Explorer, Storyboard, Launchpad, and Athena.
Data Admin: Allows users to connect and manage the organization’s data within the ConverSight platform.
Org Admin: Provides full access to all platform features and administrative capabilities.
Assigning Roles#
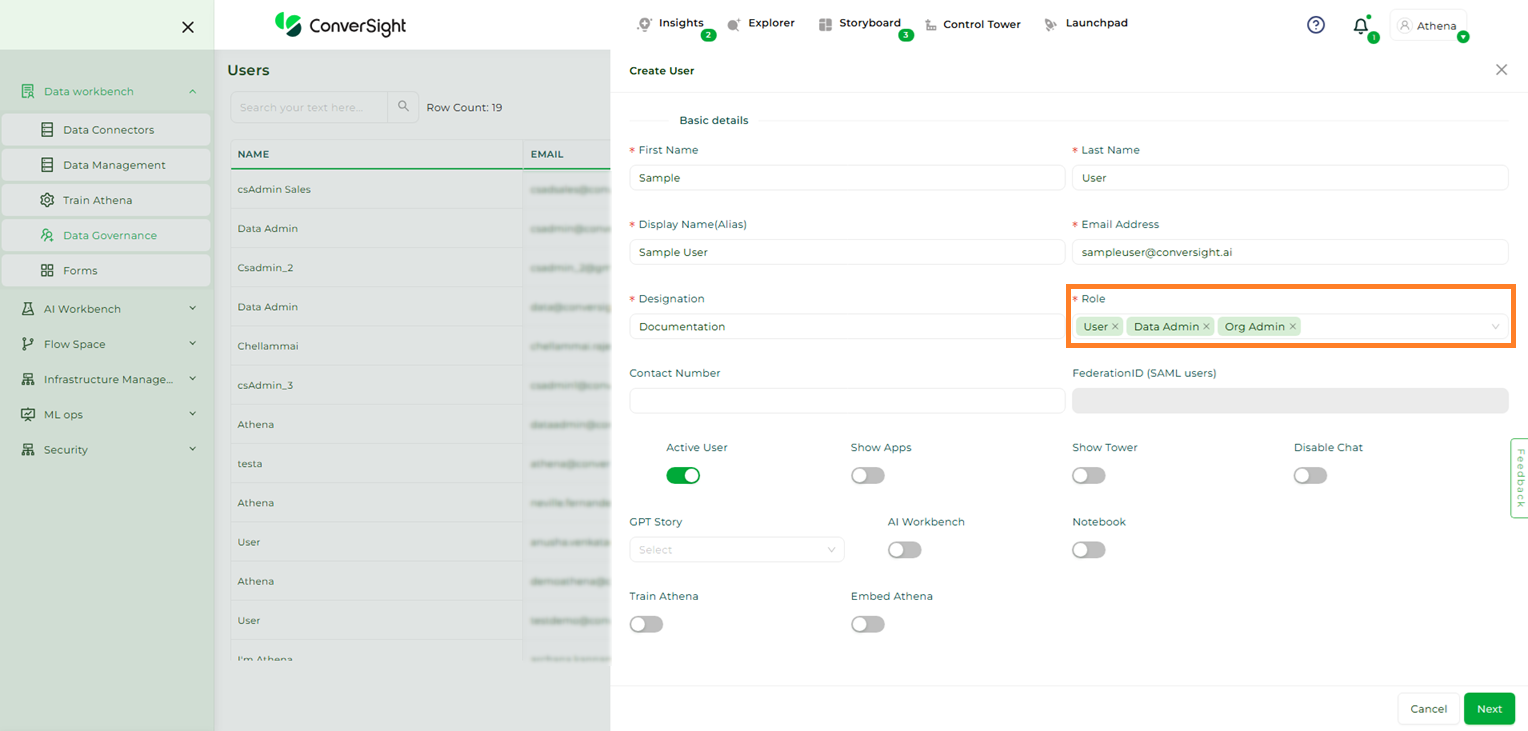
Step 6: Assign Multiple Roles
You can assign multiple roles to a single user, enabling access to a broader set of features and permissions. Once the user is created, they can immediately access the platform based on the assigned roles.
Assigning Multiple Roles#
Step 7: External User Login (SSO)
ConverSight supports Single Sign-On (SSO) through trusted Identity Providers (IdPs), allowing users to log in using existing credentials instead of creating new usernames and passwords.
When SSO is enabled:
The IdP authenticates the user.
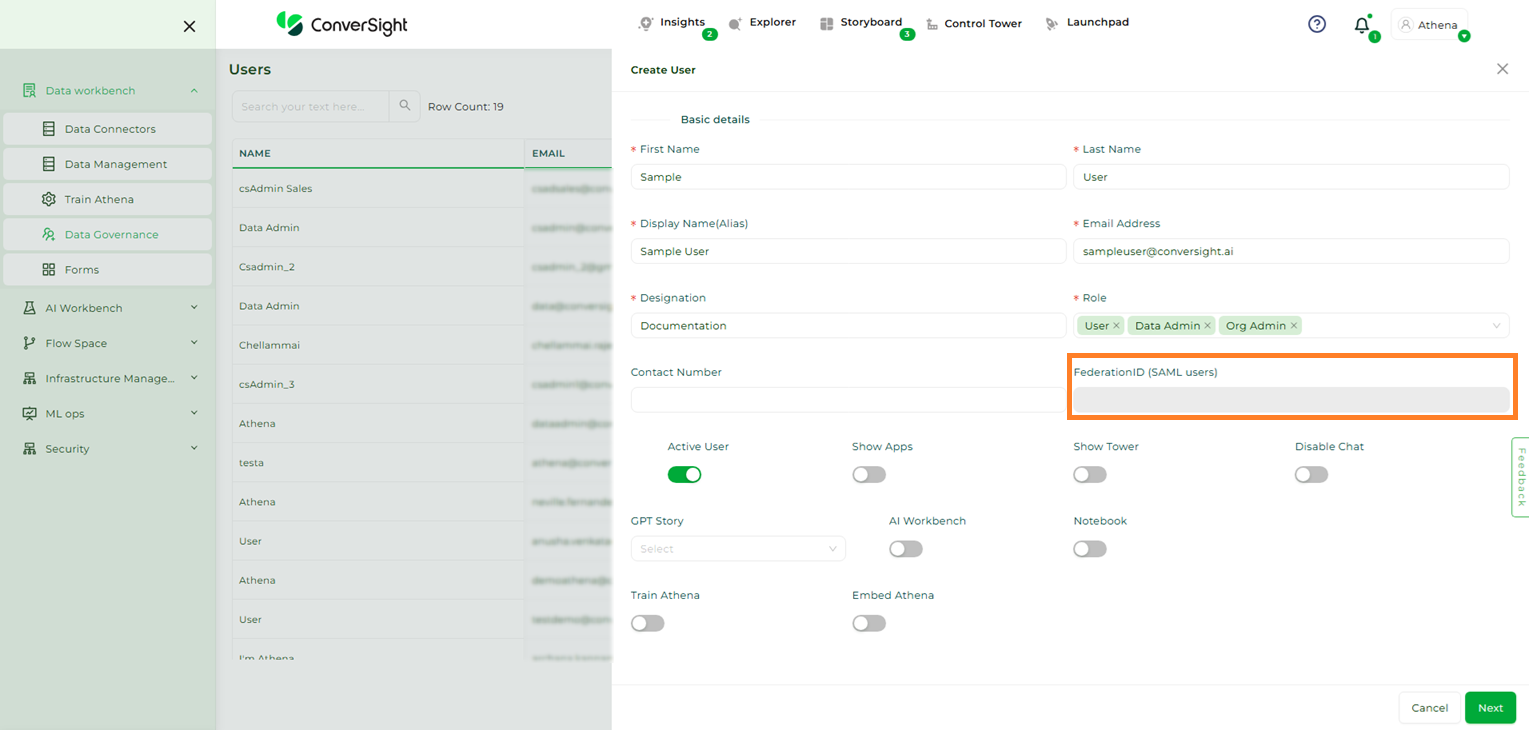
ConverSight receives the user’s FederationID, which is used to grant access without requiring separate credentials.
FederationID is a unique identifier assigned by an IdP using SAML and is used to enable secure SSO across multiple systems. A SAML user is authenticated by an IdP using the SAML protocol. When access to ConverSight is requested, the platform redirects the user to the IdP for authentication. Upon successful verification, the IdP sends a SAML assertion containing the user’s identity and authentication details.
Supported IdPs include OneLogin, Google, Facebook, Microsoft Azure, and Okta.
By using FederationID and SSO, organizations can simplify user authentication, reduce password-related security risks, and improve the overall login experience by eliminating the need for multiple credentials.
FederationID#
Step 8: Enabling Additional Features and Options
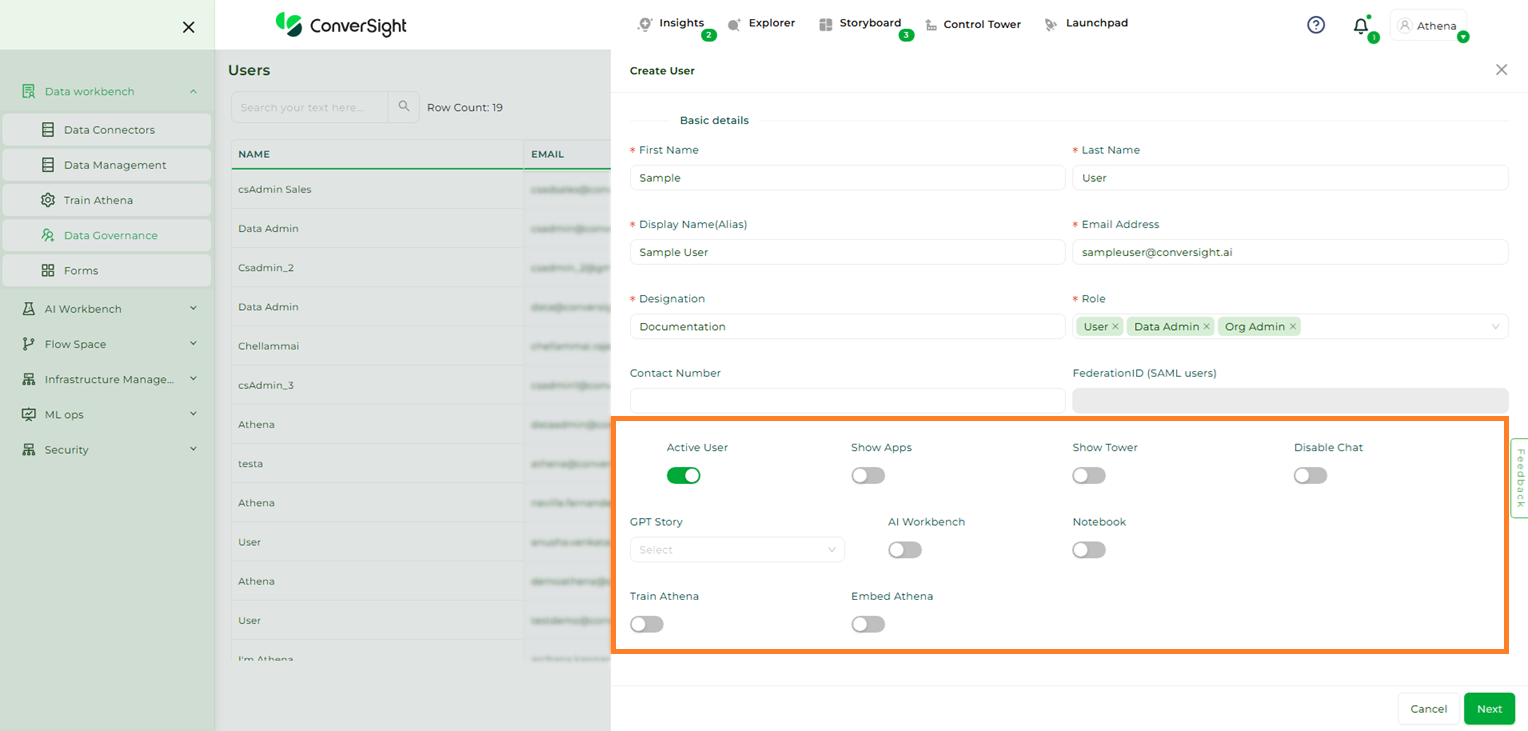
In addition to assigning roles, you can enable or disable specific features for each user using the options listed below.
Feature |
Description |
|---|---|
Active User |
Activates the user account. If disabled, the user account remains inactive and cannot access the platform. |
Show Apps |
Enables the Apps Space, displaying all available CS Apps. |
Show Tower |
Enables access to the Control Tower feature. |
Disable Chat |
Disables Athena Chat access for the user. |
GPT Story |
Enables data storytelling capabilities across Insights, Explorer, Storyboard, and Athena Chat. |
AI Workbench |
Grants access to the AI Workbench menu when enabled. |
Notebook |
Provides access to Notebook. When enabled, a dropdown appears to select the notebook type based on data size and scale, ensuring a tailored analysis experience. |
Embed Athena |
Allows Athena to be embedded into third-party applications or websites, enabling queries without logging in to the ConverSight platform each time. |
Additional Features#
Step 9: Account Activation Email
After a user is created, an account activation email is automatically sent to the registered email address. This email includes the login credentials and a clickable activation link required to access the platform. If the user does not activate the account within this timeframe, the link will expire.
Once the activation email is sent, a Reinvite (Resend Invitation) option becomes available under the user’s action menu. This option remains visible until the user successfully activates the account by clicking the activation link and logging in for the first time.
Resend Invitation#
NOTE
The activation link is valid for 72 hours only.
After completing the previous steps, click Next to proceed to the Dataset Access page. Here, you can grant access to one or more datasets for the user during the creation process. Once the appropriate dataset access is assigned, click Submit to finalize the user setup.
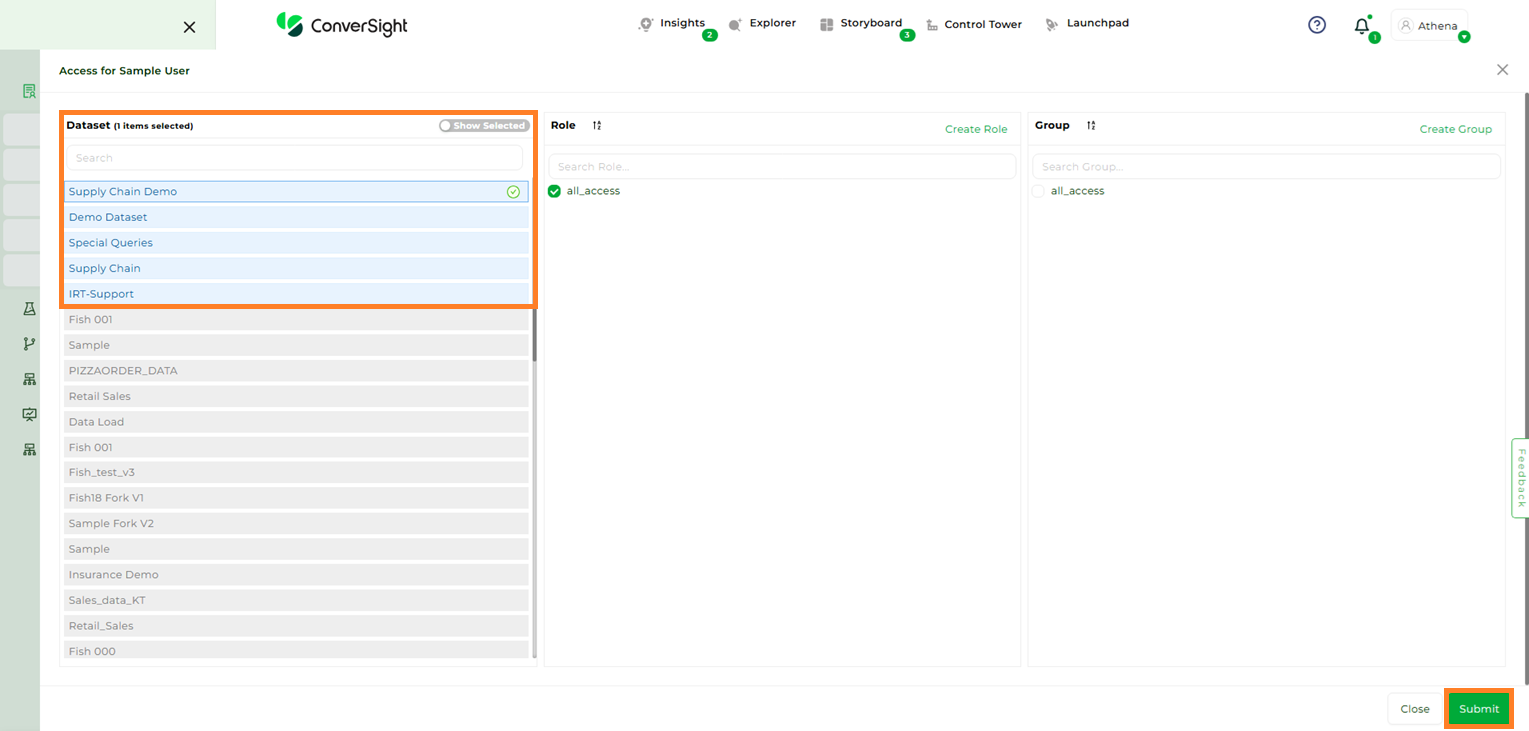
Dataset Access#

New User Created#
The creation of a user is a pivotal element within the data governance procedure, as discussed in this section. Following this, the activities that involve providing access to datasets, allocating roles and overseeing groups are thoroughly addressed in Data Governance.