Summary Fields#
Summary Fields are used to create Smart Columns that serve as a crucial feature for users requiring report generation or validation of inputs across multiple columns in a dataset. However, with the utilization of Smart Columns, users can conveniently consolidate necessary columns, name the query and save it for future use. This functionality streamlines the retrieval of grouped columns in Athena, significantly saving time and effort. The created Smart Column will exclusively exist within the platform and won’t be replicated in the actual database.
Creation of Summary Fields#
This is an all-inclusive manual that provides guidance on how to work with Summary Fields through SME Coaching.
Step 1: After successfully logging in, the platform will be accessible to user. To access the Summary Fields feature, you must first access the Data Management feature in the Data Workbench.

Landing Page#
Step 2: To create a Summary Fields, select the data set and go to the ![]() icon located in the Action column of the Data Management, and then choose Configure SME.
icon located in the Action column of the Data Management, and then choose Configure SME.

Configure SME#
Step 3: Upon reaching the SME Coaching page, click on the Table tab and then choose the Summary Fields button.
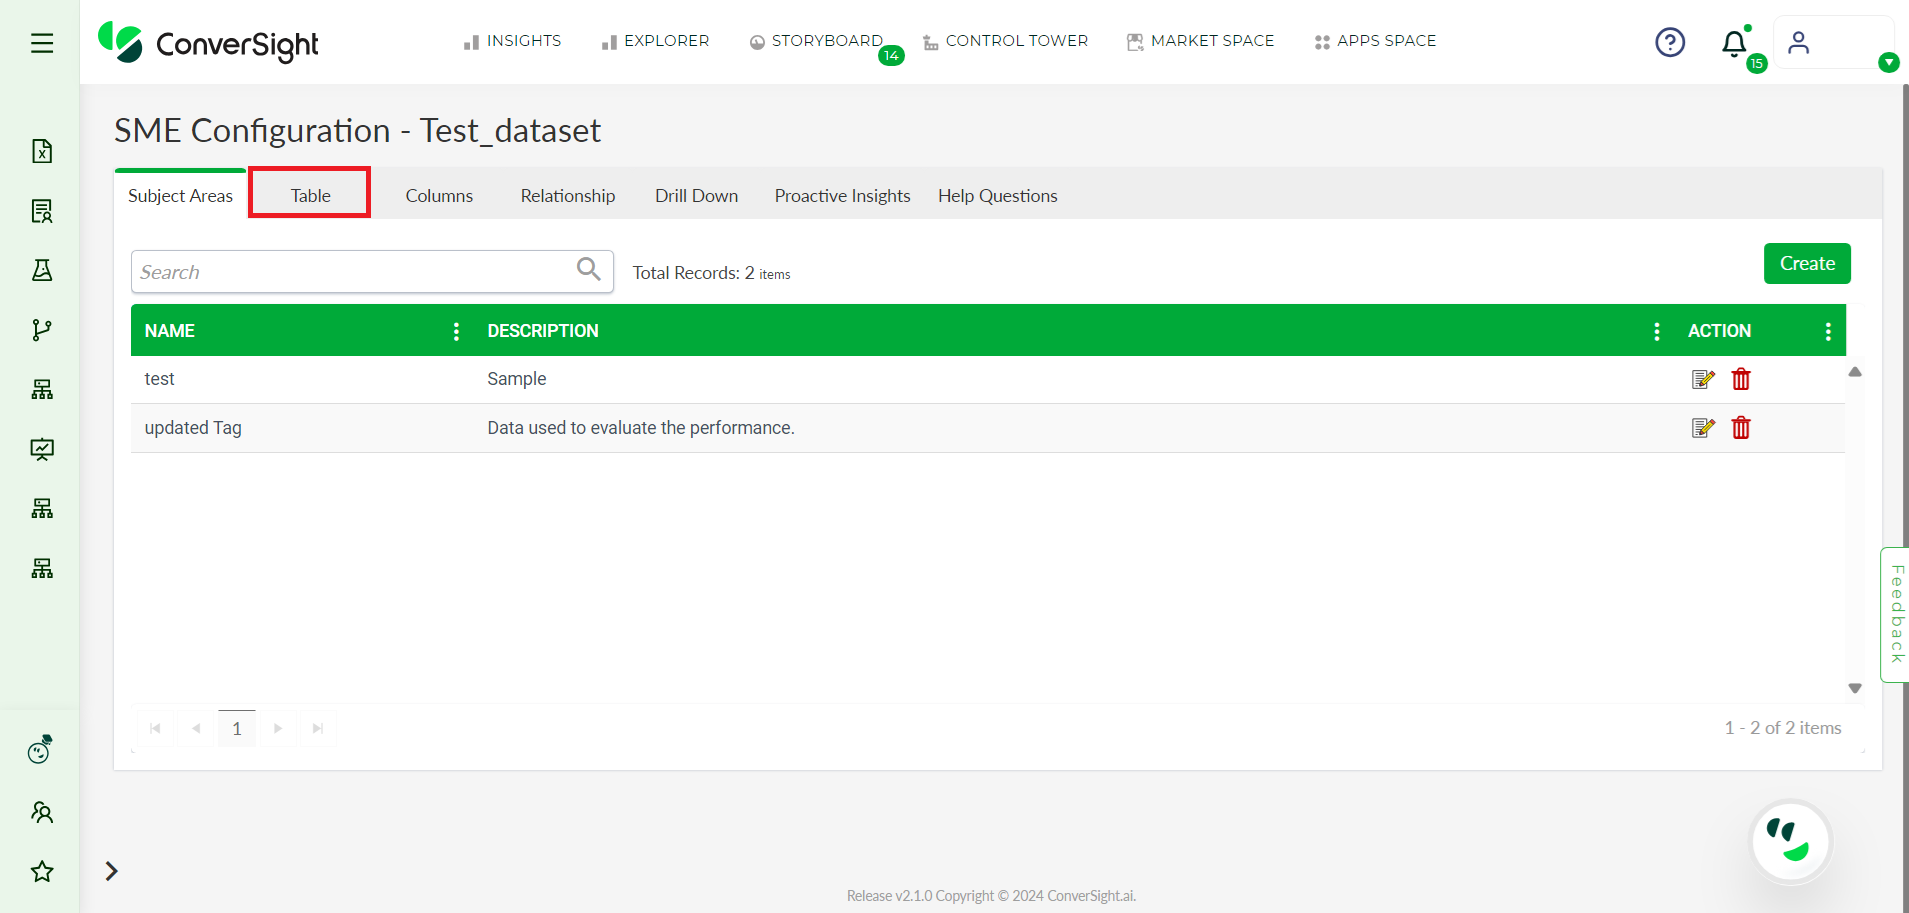
Table Tab#
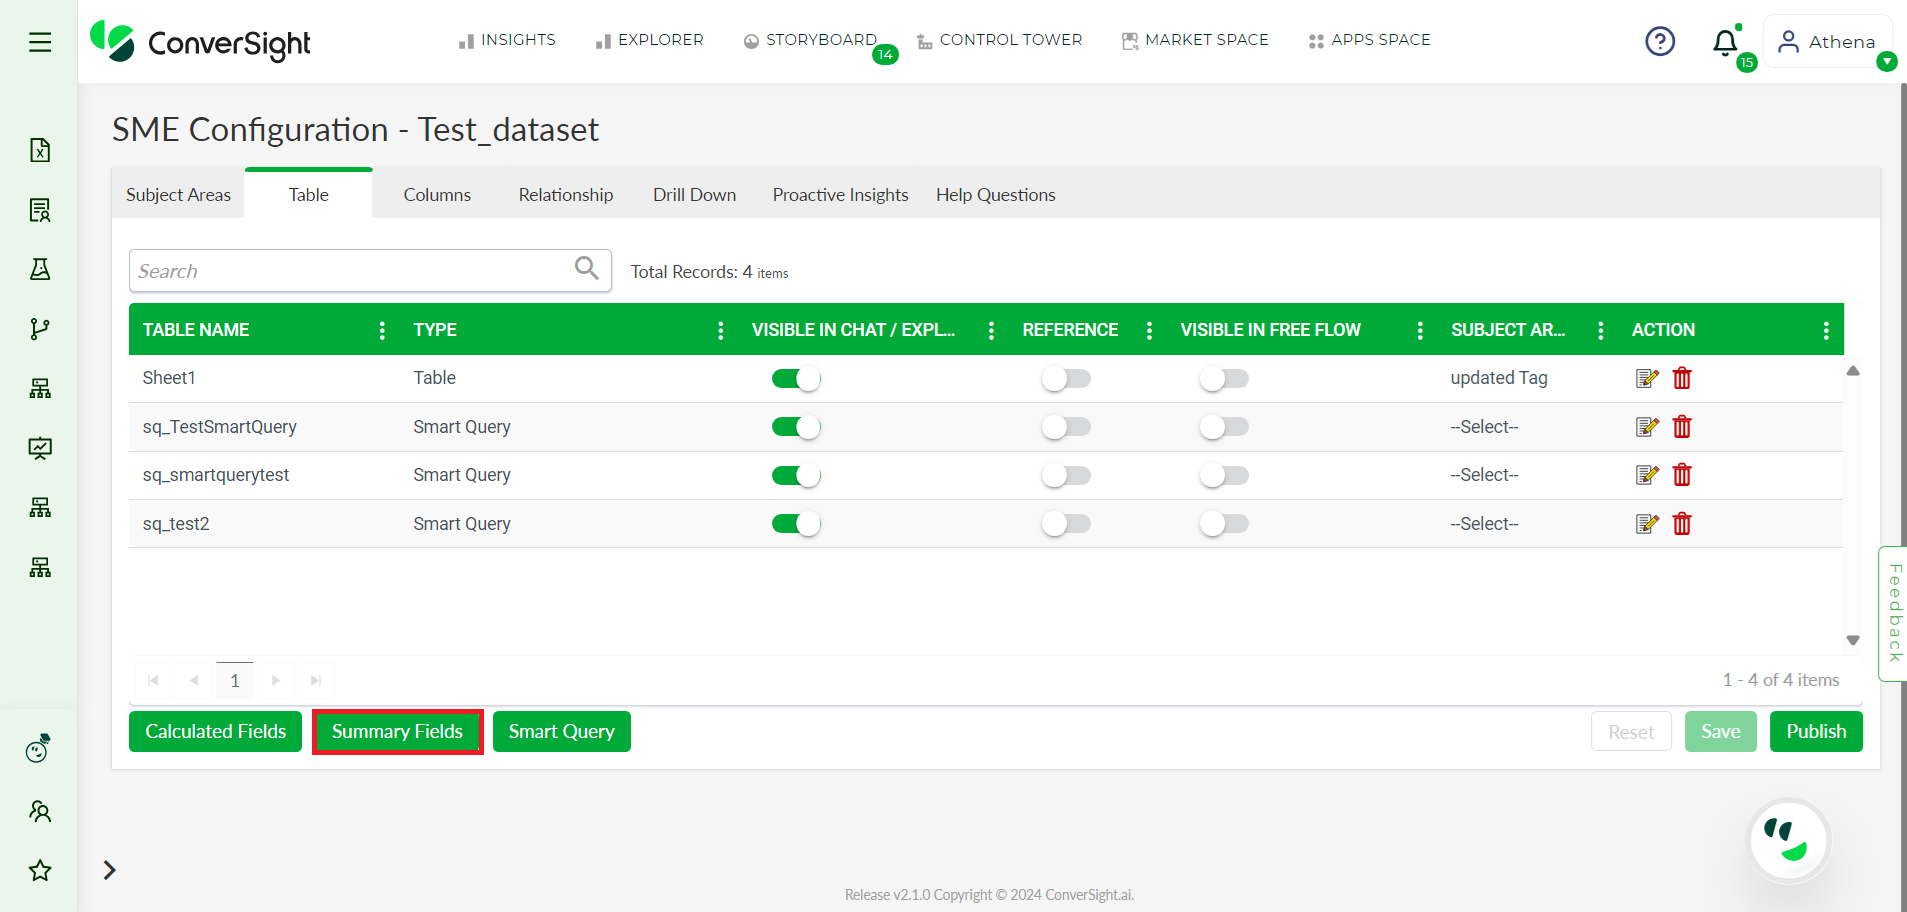
Summary Field#
Step 4: In the Summary Fields tab, provide a name for your Summary Field and select the columns you wish to consolidate from the Select Column dropdown.
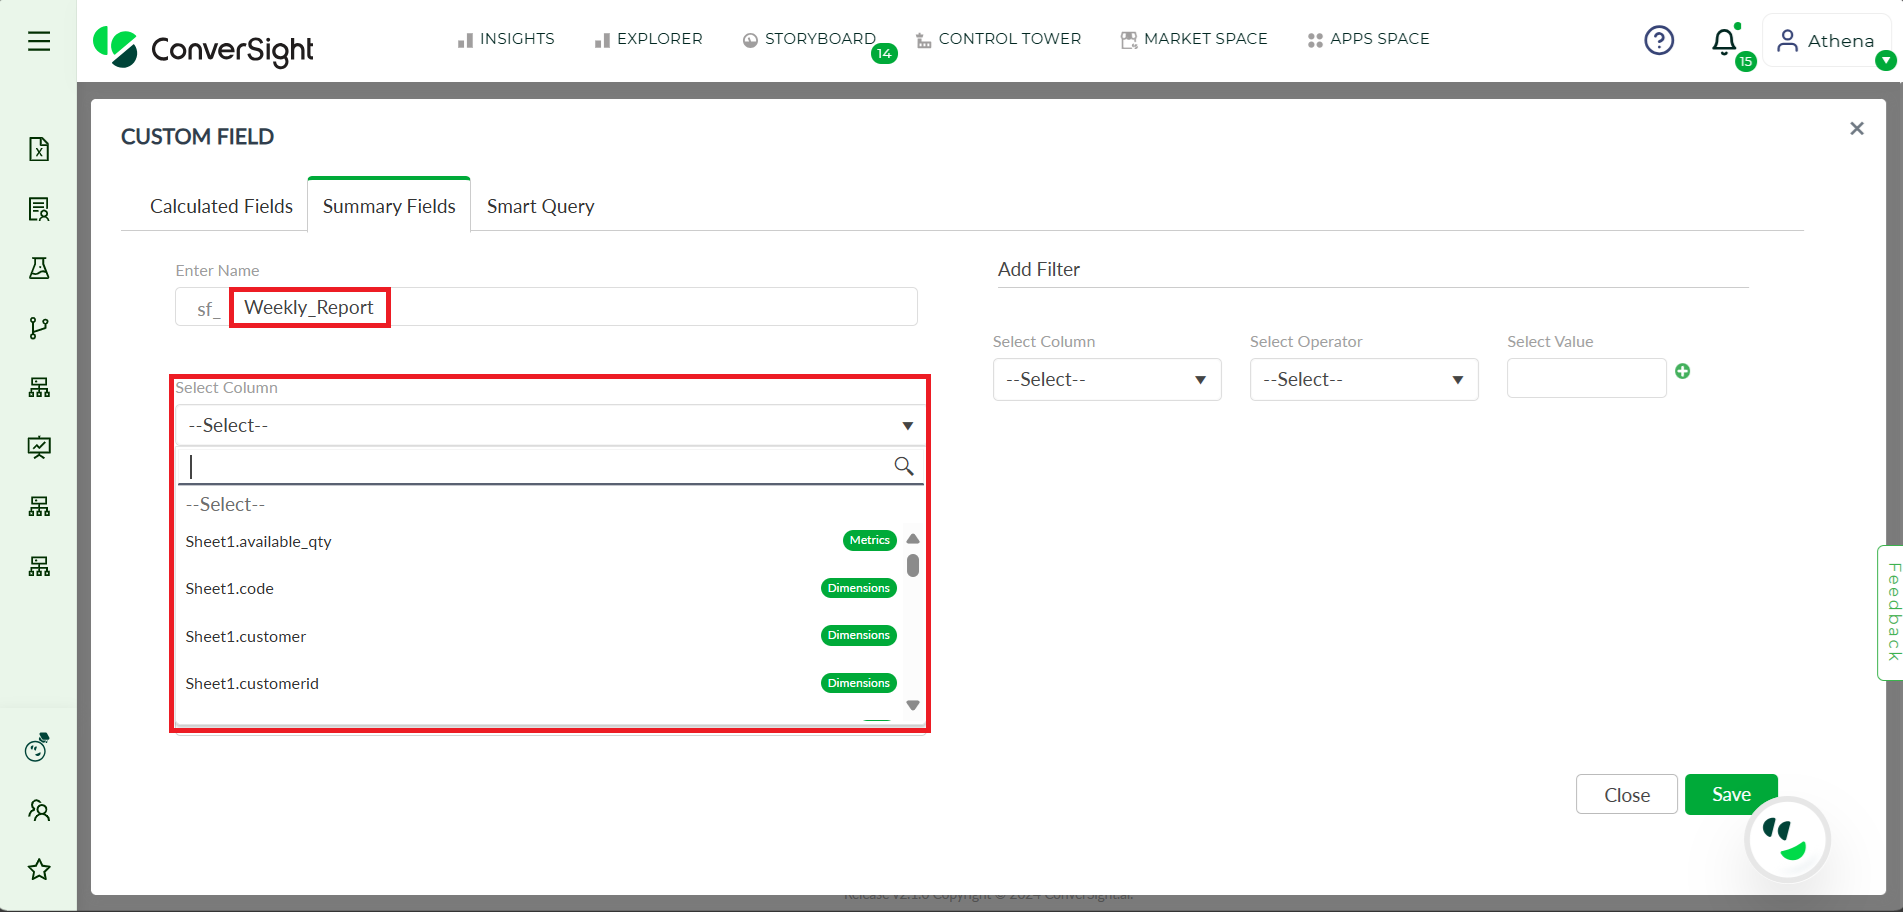
Summary Fields Column#
NOTE
The columns that are selected should have some form of relationship between them.
Step 6: Summary Fields feature also enables users to customize queries by adding filters. The Add Filter option requires the column name, operator for that column, and values if necessary. Columns can have different types such as metrics, dimensions, dates, flags, calculated metrics and calculated dimensions. Depending on the type of column selected, relevant operators will be loaded and values can be added. Choose the column that needs to be filtered.
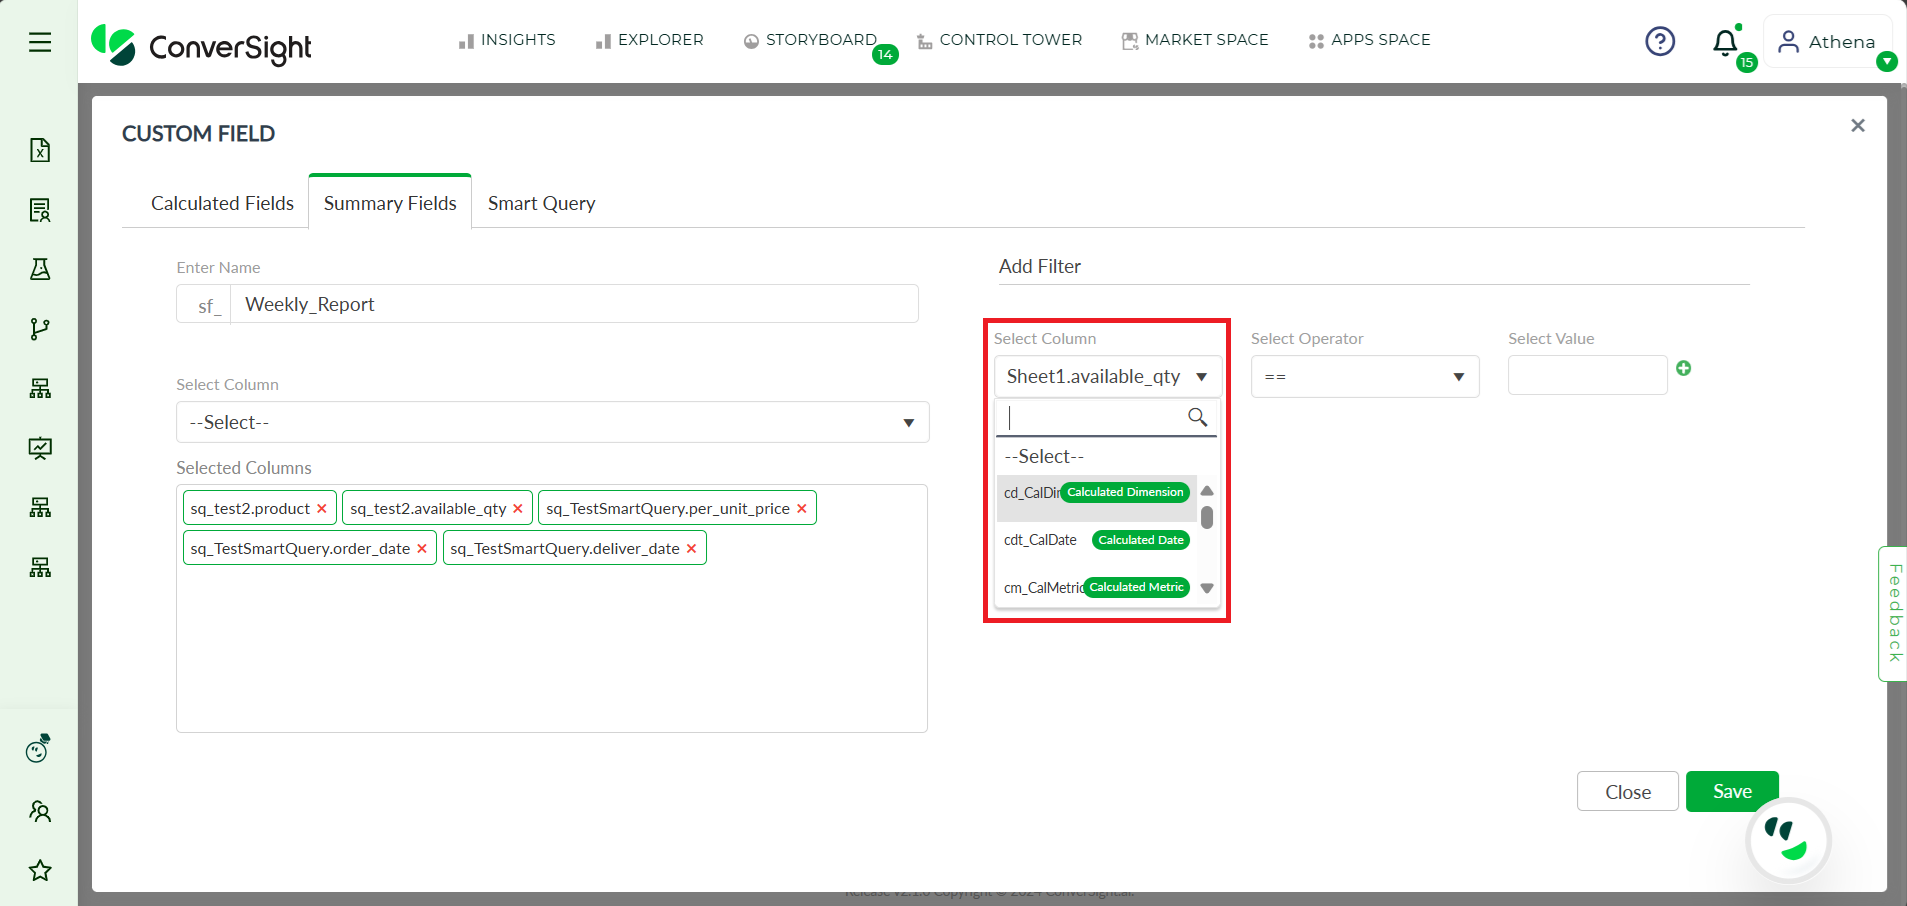
Select Column for Filtering#
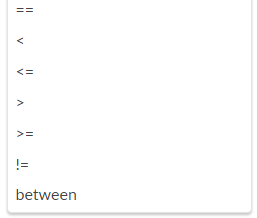
Step 7: Choose the filter operation that is needed.
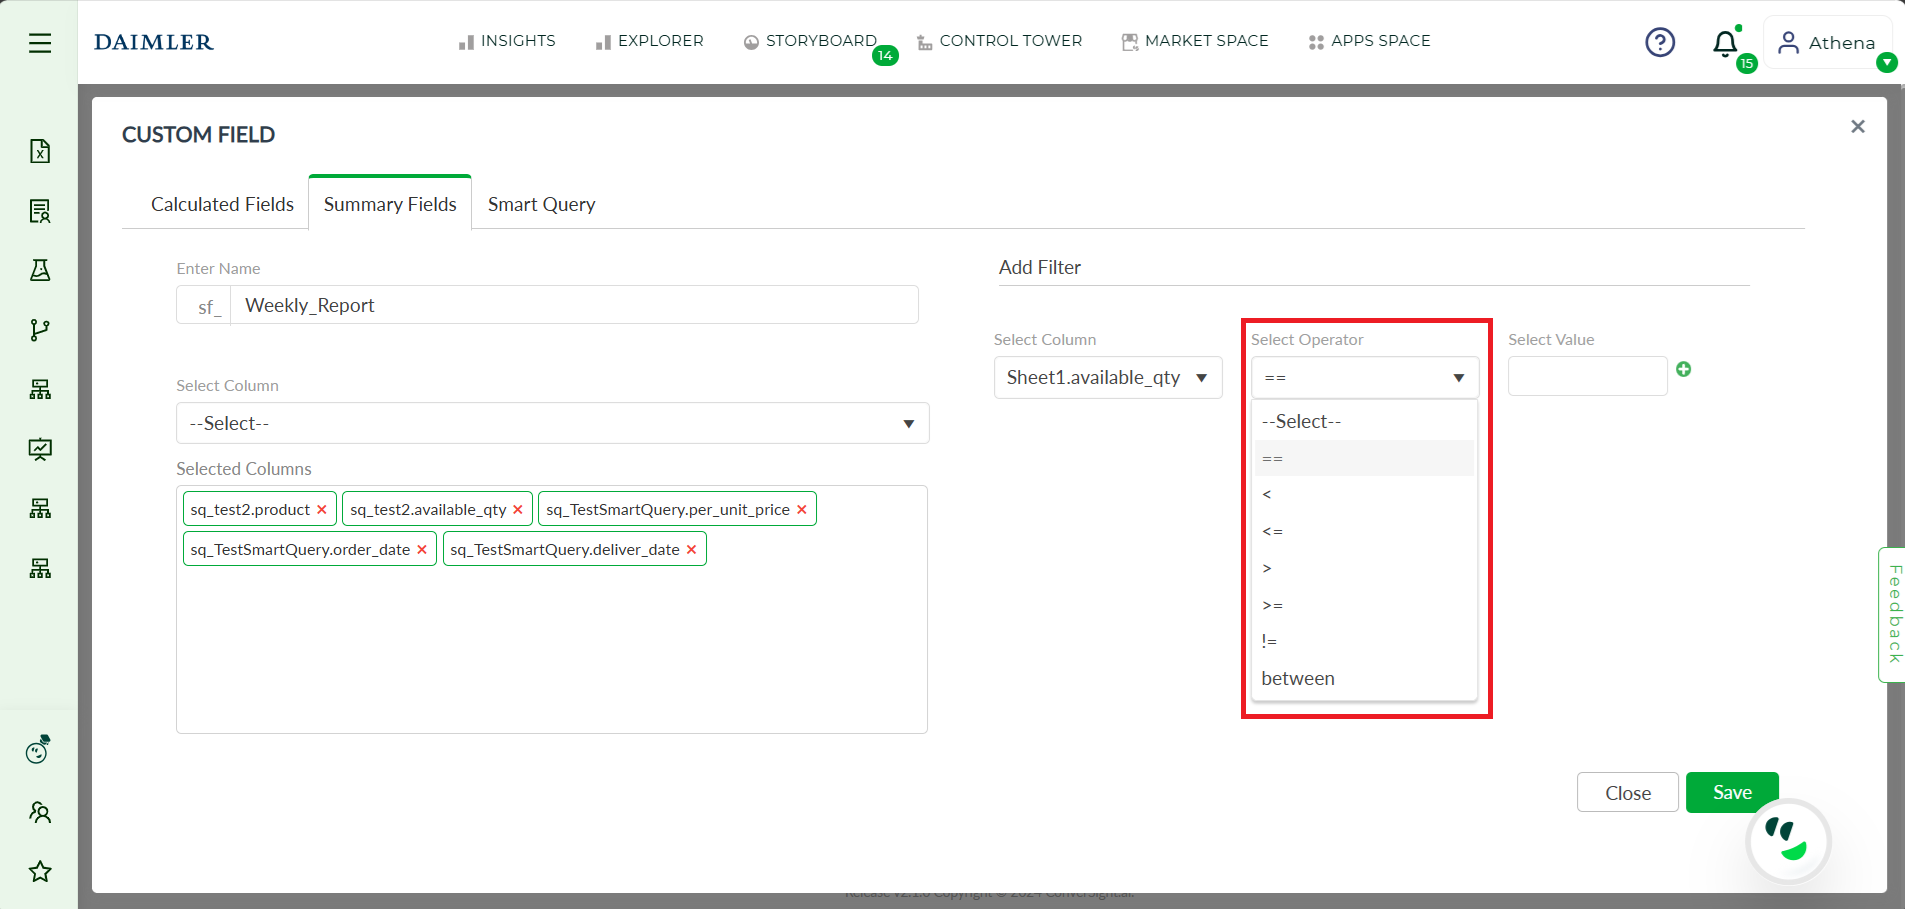
Select Operator for Filtering#
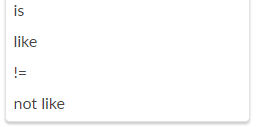
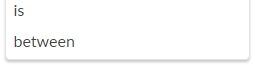
Depending on the type of column selected, there are different operators available, including:
Column Type |
Operator |
|---|---|
Metrics and Calculated Metrics |
|
Dimensions and Calculated Dimensions |
|
Date |
|
Flag |
|
Step 8: Include a value in the filter.
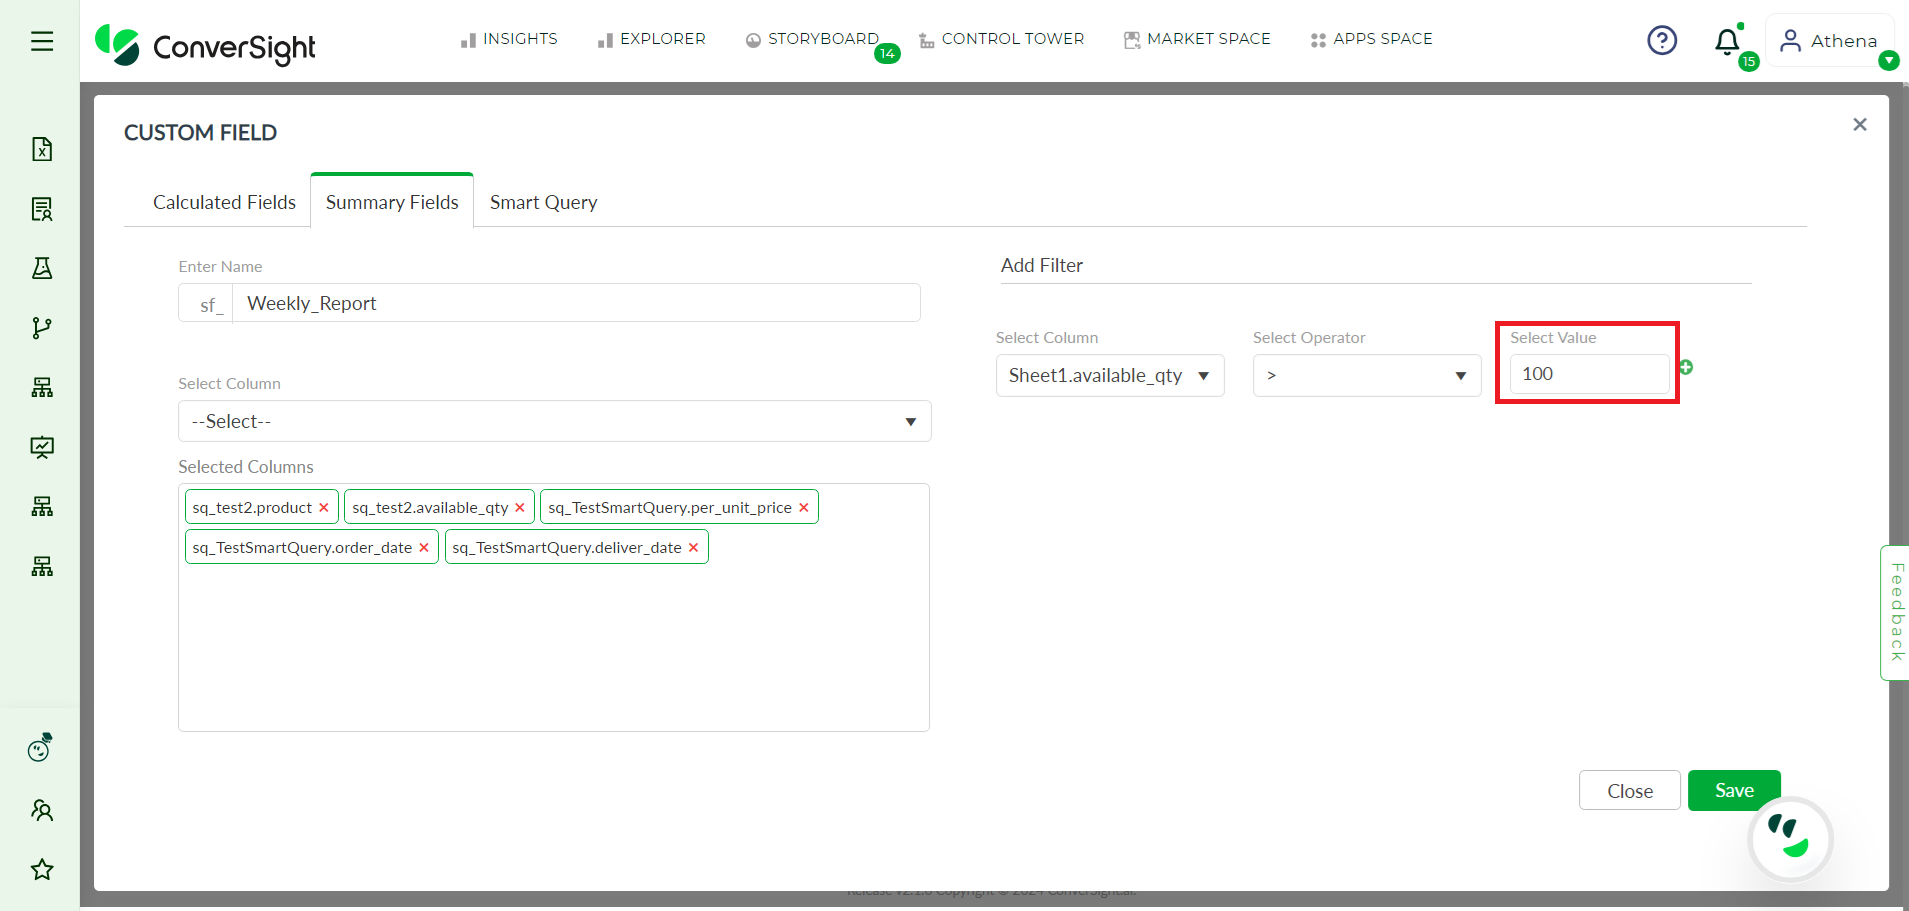
Enter Value for Filtering#
Step 9: User have the ability to add multiple filters to refine their search results by clicking on the ![]() icon. Similarly, user can remove a filter by clicking on the
icon. Similarly, user can remove a filter by clicking on the ![]() icon. The delete icon typically appears next to each applied filter.
icon. The delete icon typically appears next to each applied filter.
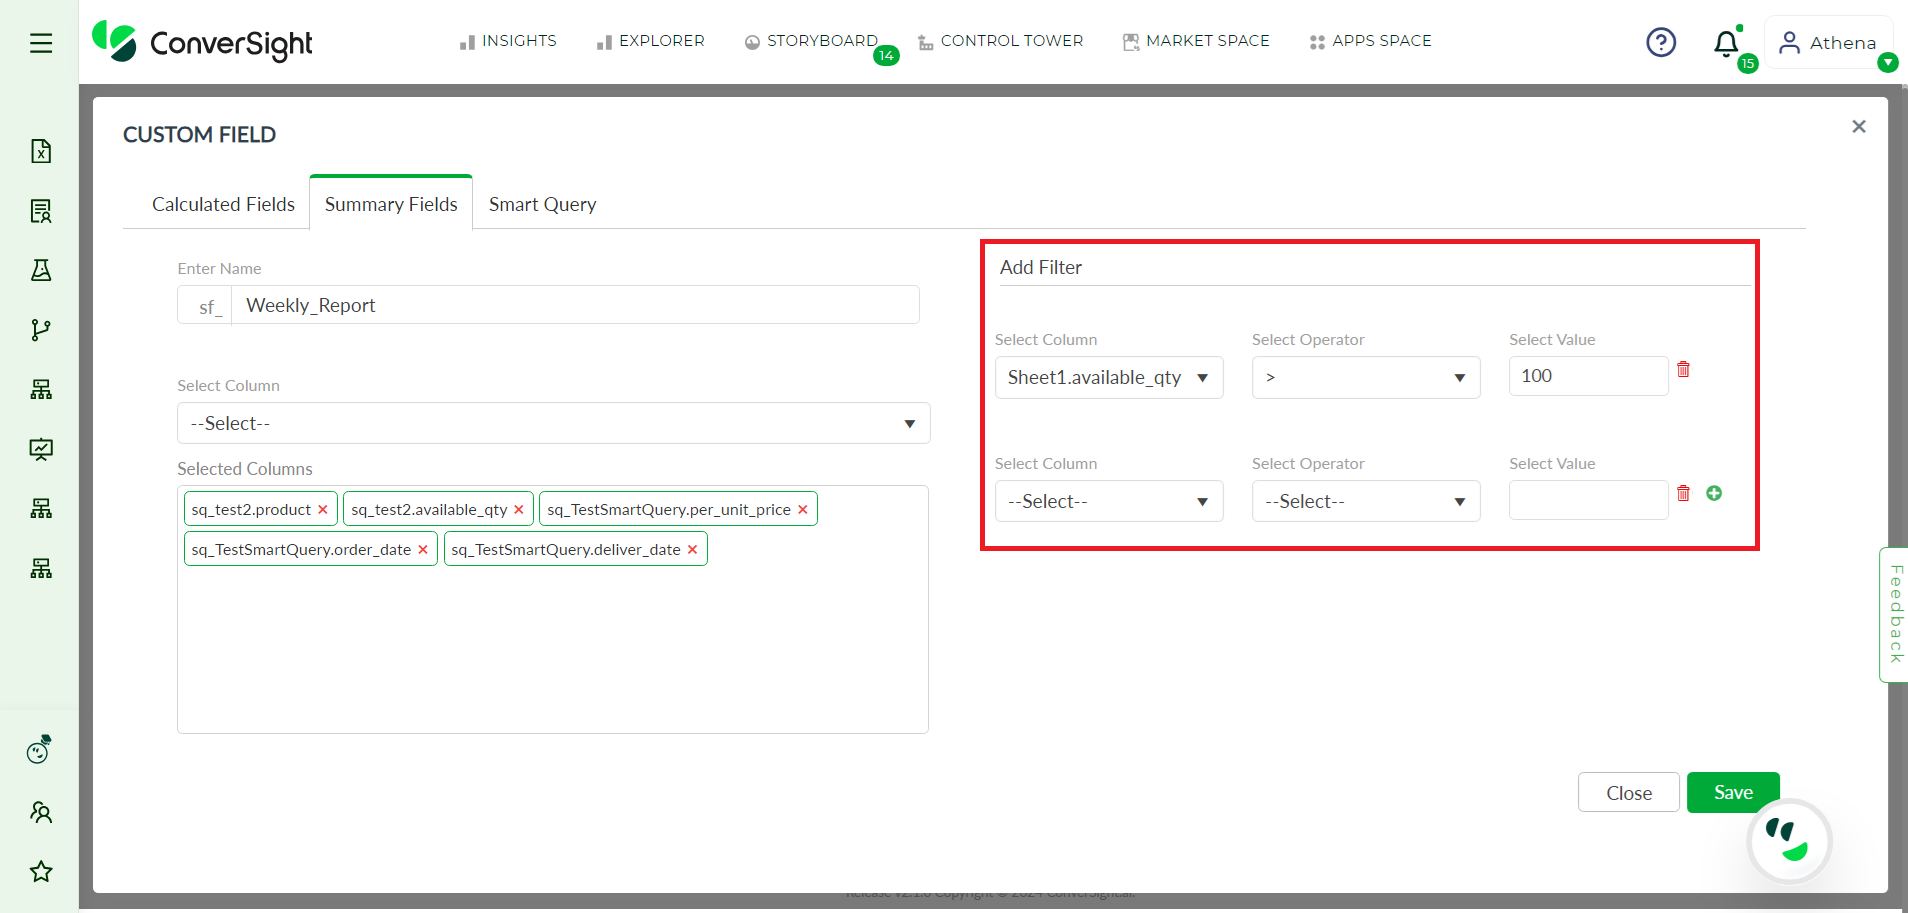
Add Filter#
Step 10: Save your changes for future use by clicking on the ![]() button. Once the Summary Fields is created, it will be added to the dataset. If the user wants to delete the Summary Fields, they can do so by clicking on the
button. Once the Summary Fields is created, it will be added to the dataset. If the user wants to delete the Summary Fields, they can do so by clicking on the ![]() icon.
icon.

Created Summary Field#
NOTE
In Smart Columns, the arrangement follows the order of Date Column, followed by Dimension Column and then Metrics Column.
Step 11: To edit the existing Summary Fields, click on the Summary Fields name and the respective page opens-up. From there, the user can make any necessary changes and click on the ![]() button to save the changes. If the user wants to create a copy of the existing Summary Fields, they can do so by clicking on the
button to save the changes. If the user wants to create a copy of the existing Summary Fields, they can do so by clicking on the  button. This will create an identical copy, which can be further customized as needed.
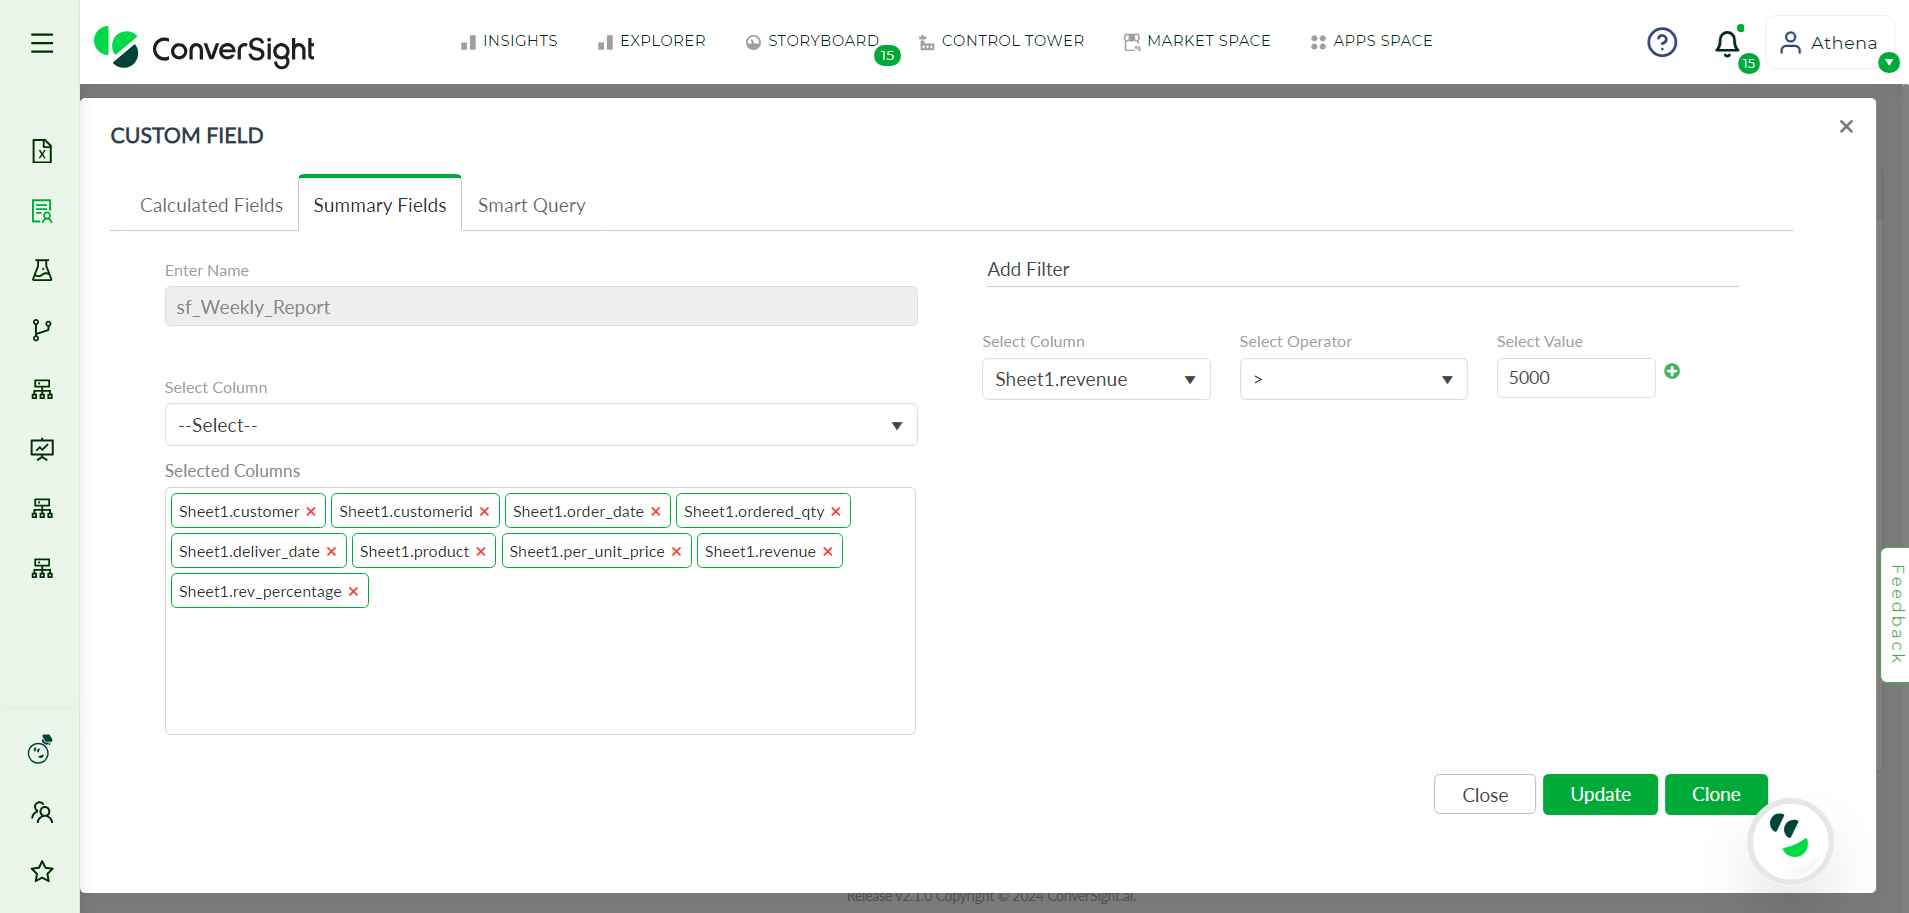
Editing Summary Fields#
Step 12: To activate the created Summary Fields and make it functional, the user needs to click on the Publish button. This will ensure that the created Summary Fields is applied to the dataset and any changes made to the dataset are reflected.
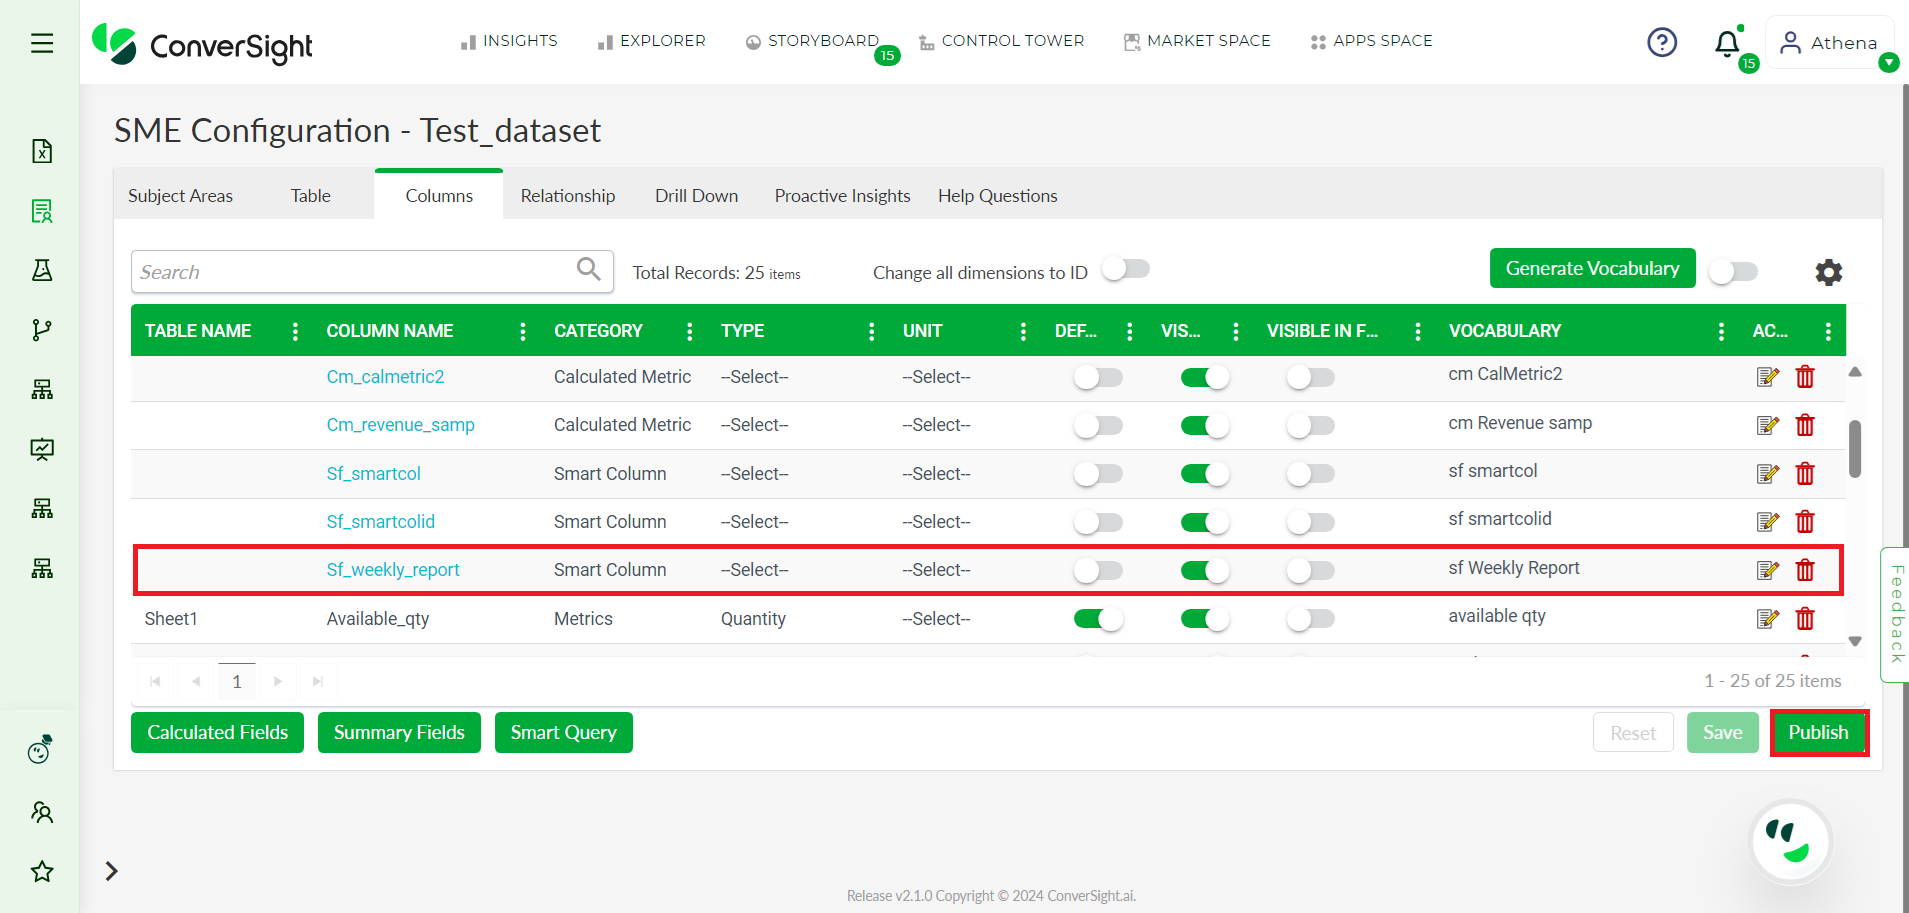
Publish#
Step 13: To view the created Summary Fields, the user can click on Athena  and search for Summary Fields name. This will retrieve all the columns that were selected while creating the Summary Fields.
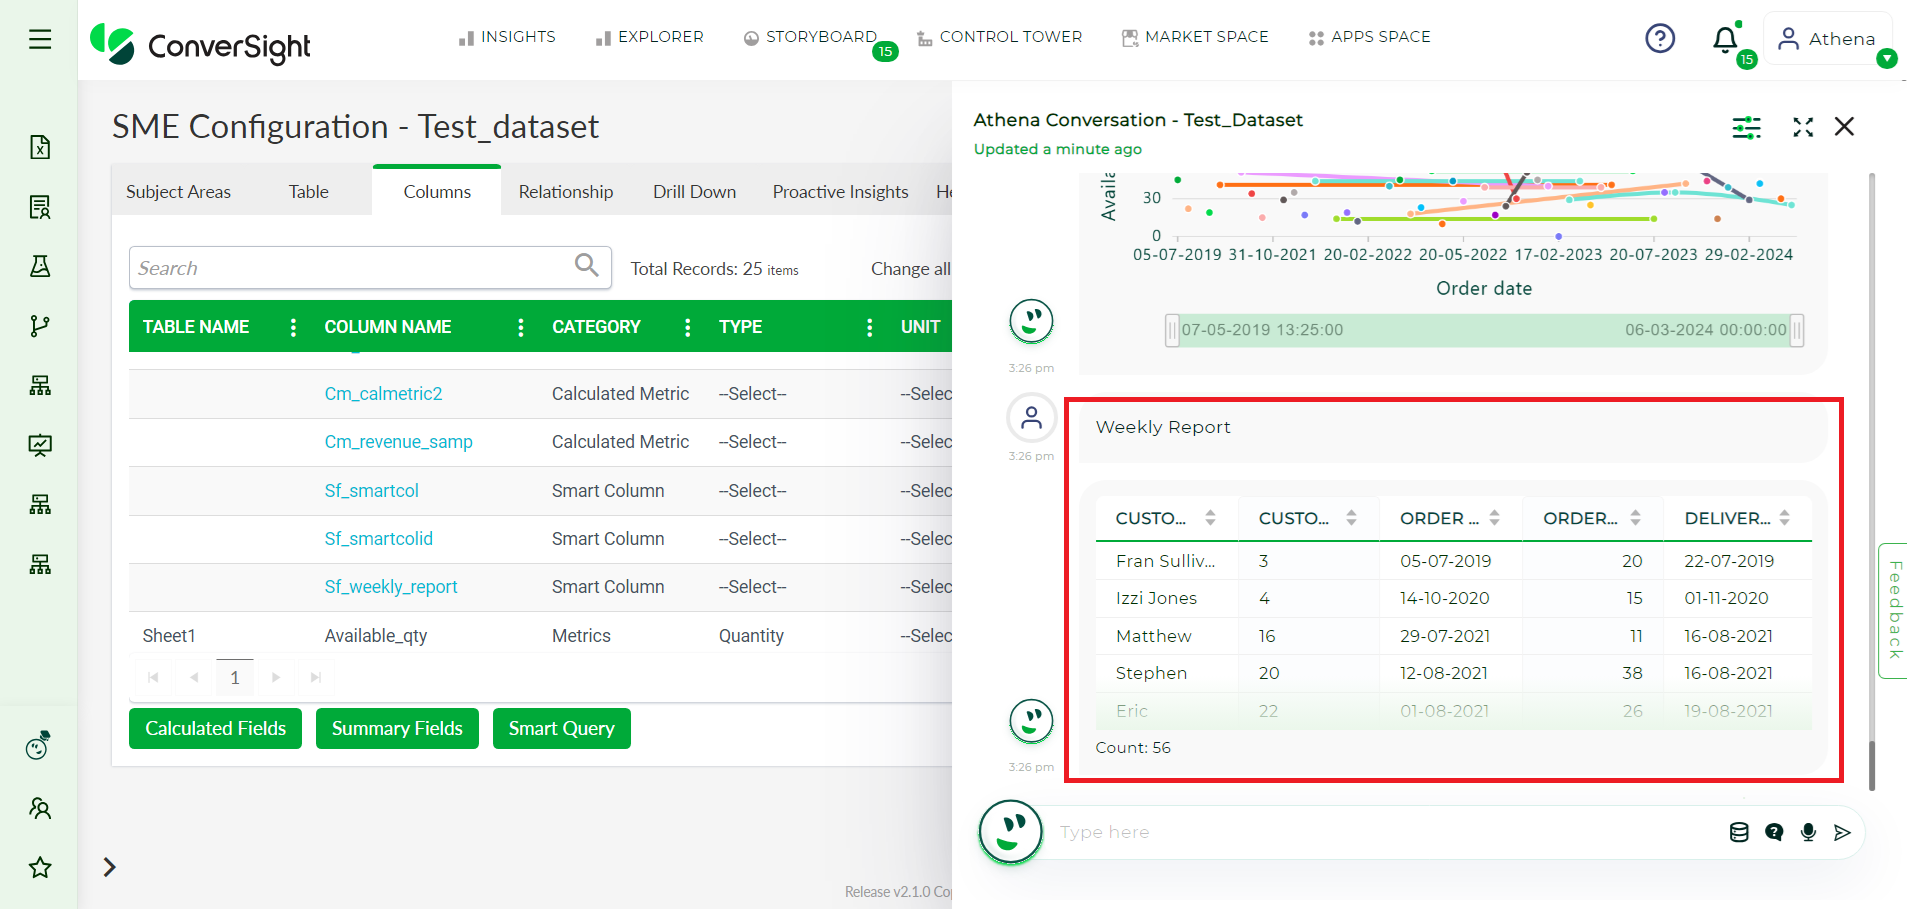
Athena View#
NOTE
Summary Fields are classified as Smart Column within the column field.
Summary Fields is an important and efficient feature that greatly enhances the user experience with Athena.
Utilizing Smart Column in Athena#
Step 1: To create a Smart Column in Athena , click on the Create Smart Column icon.
Smart Column#
Step 2: In the Create Smart Column dialog box, provide the name of your Smart Column.
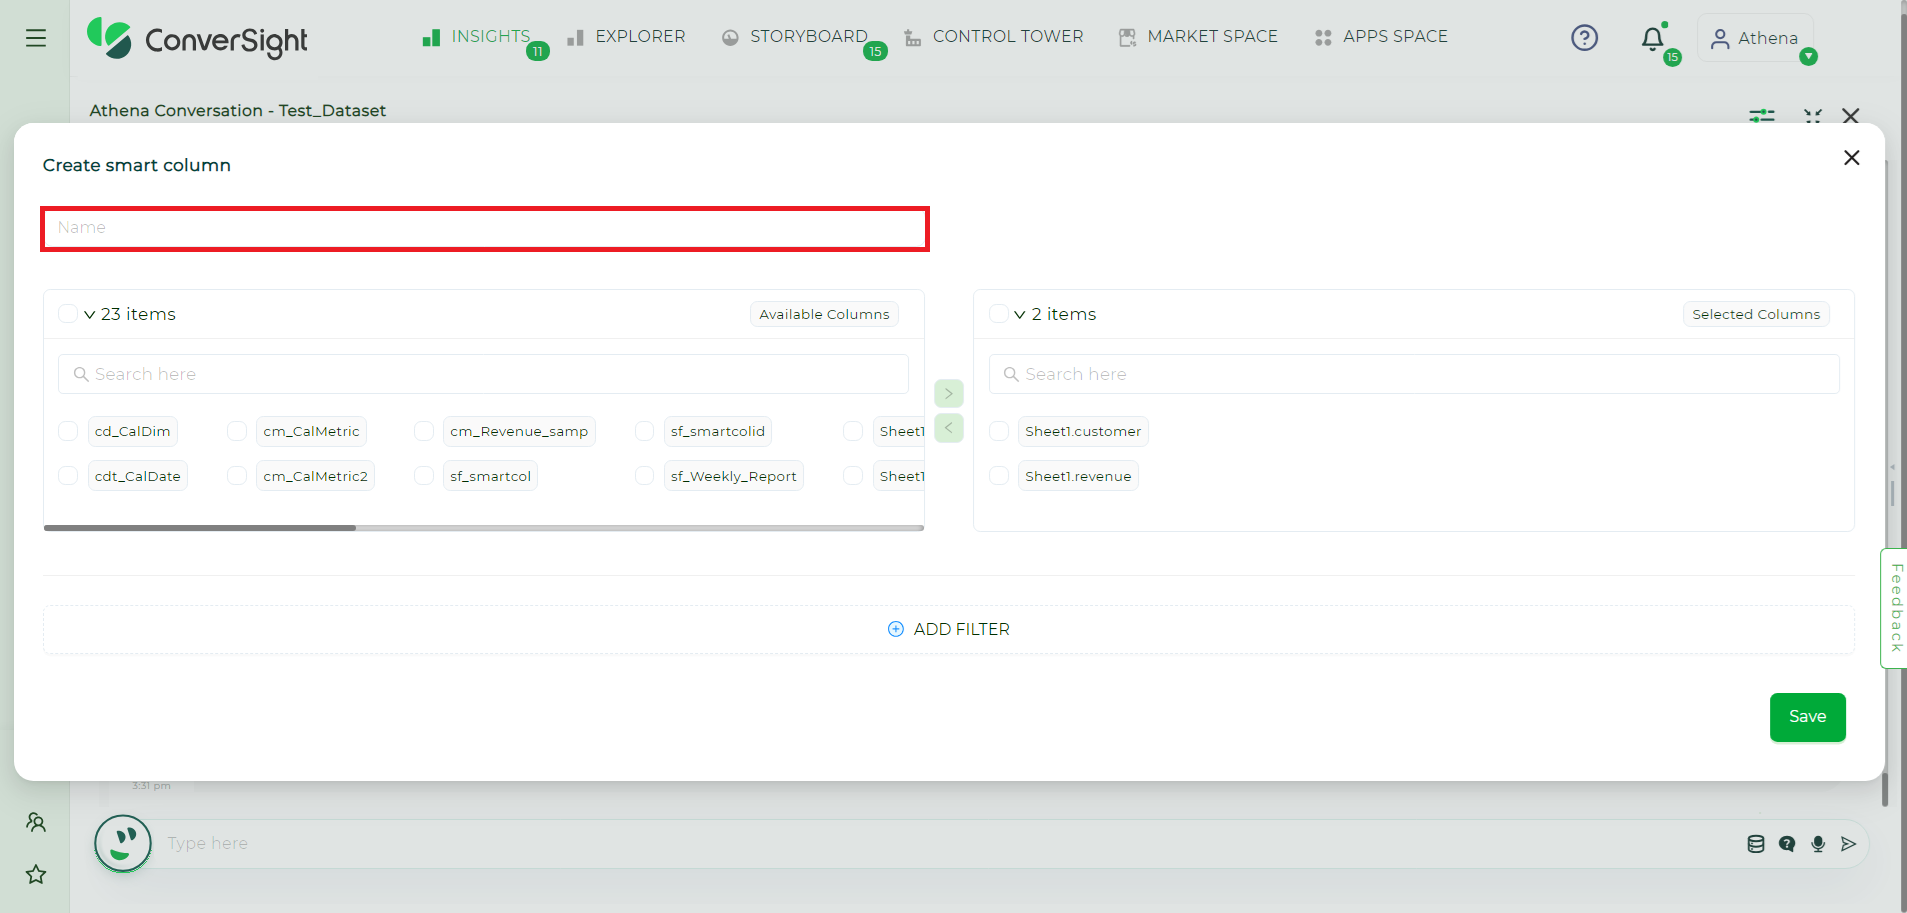
Name of the Smart Column#
Step 3: From the Available columns of the dataset, choose your desired columns for the Smart Column.
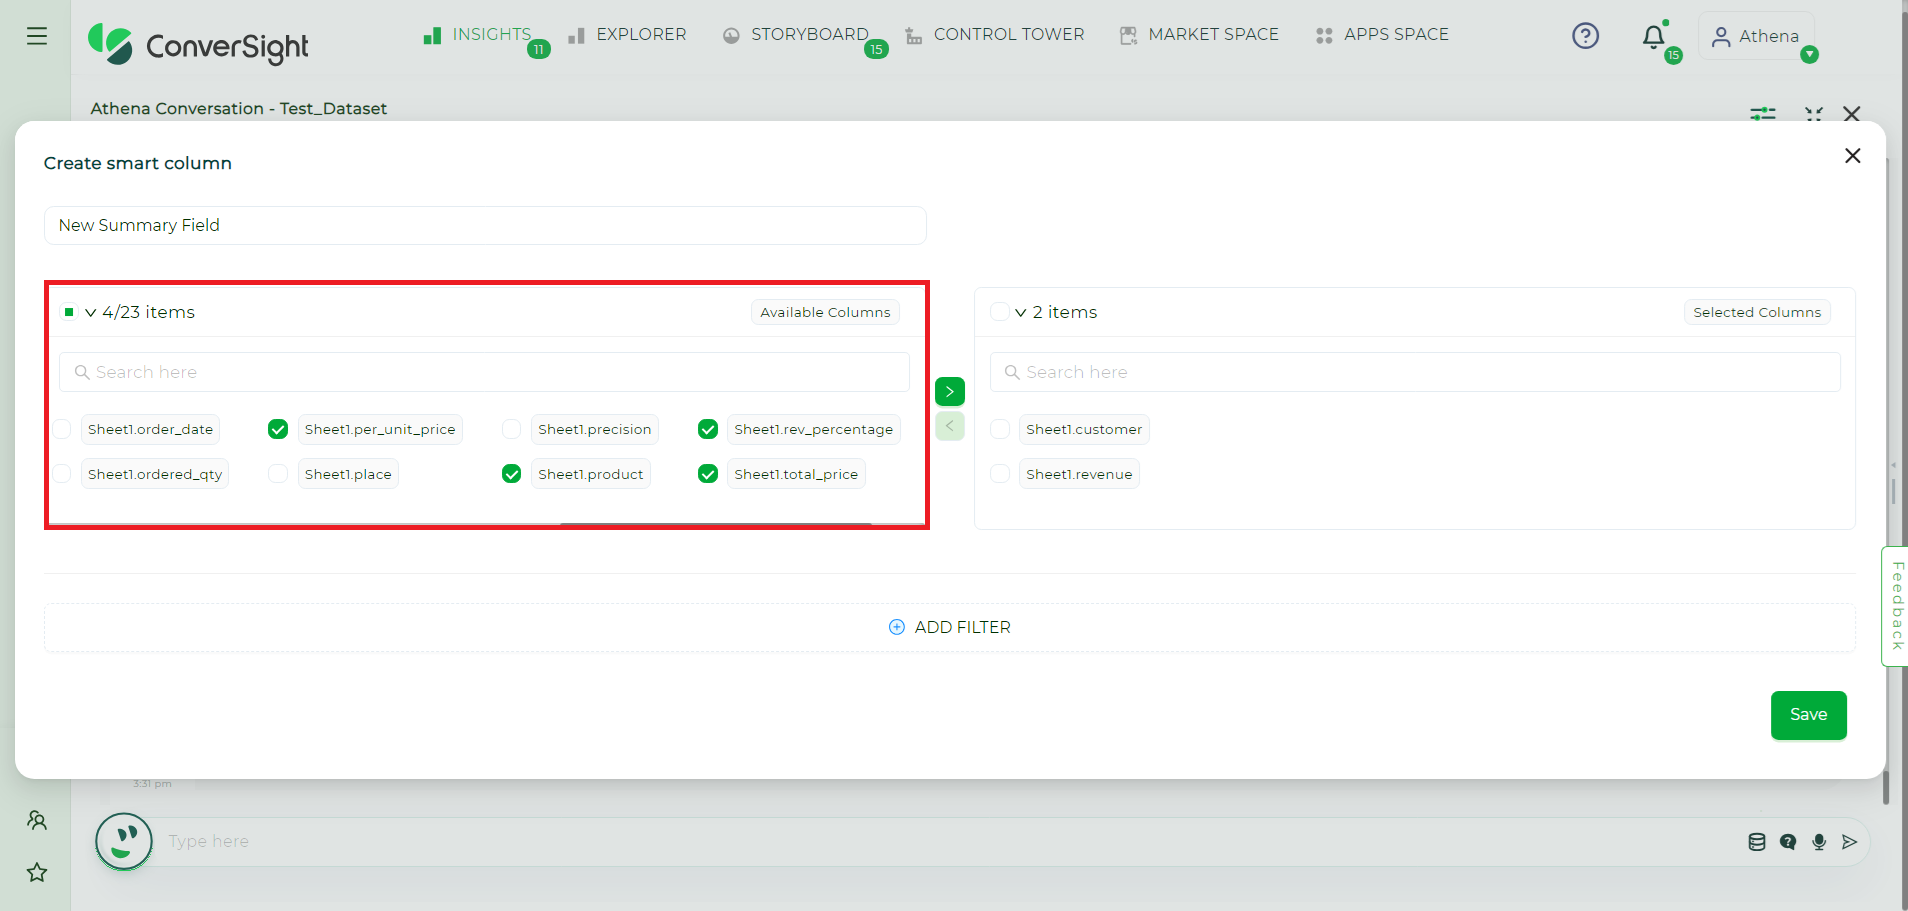
Available Columns#
Step 4: You can also select the columns of your query based on your requirements.
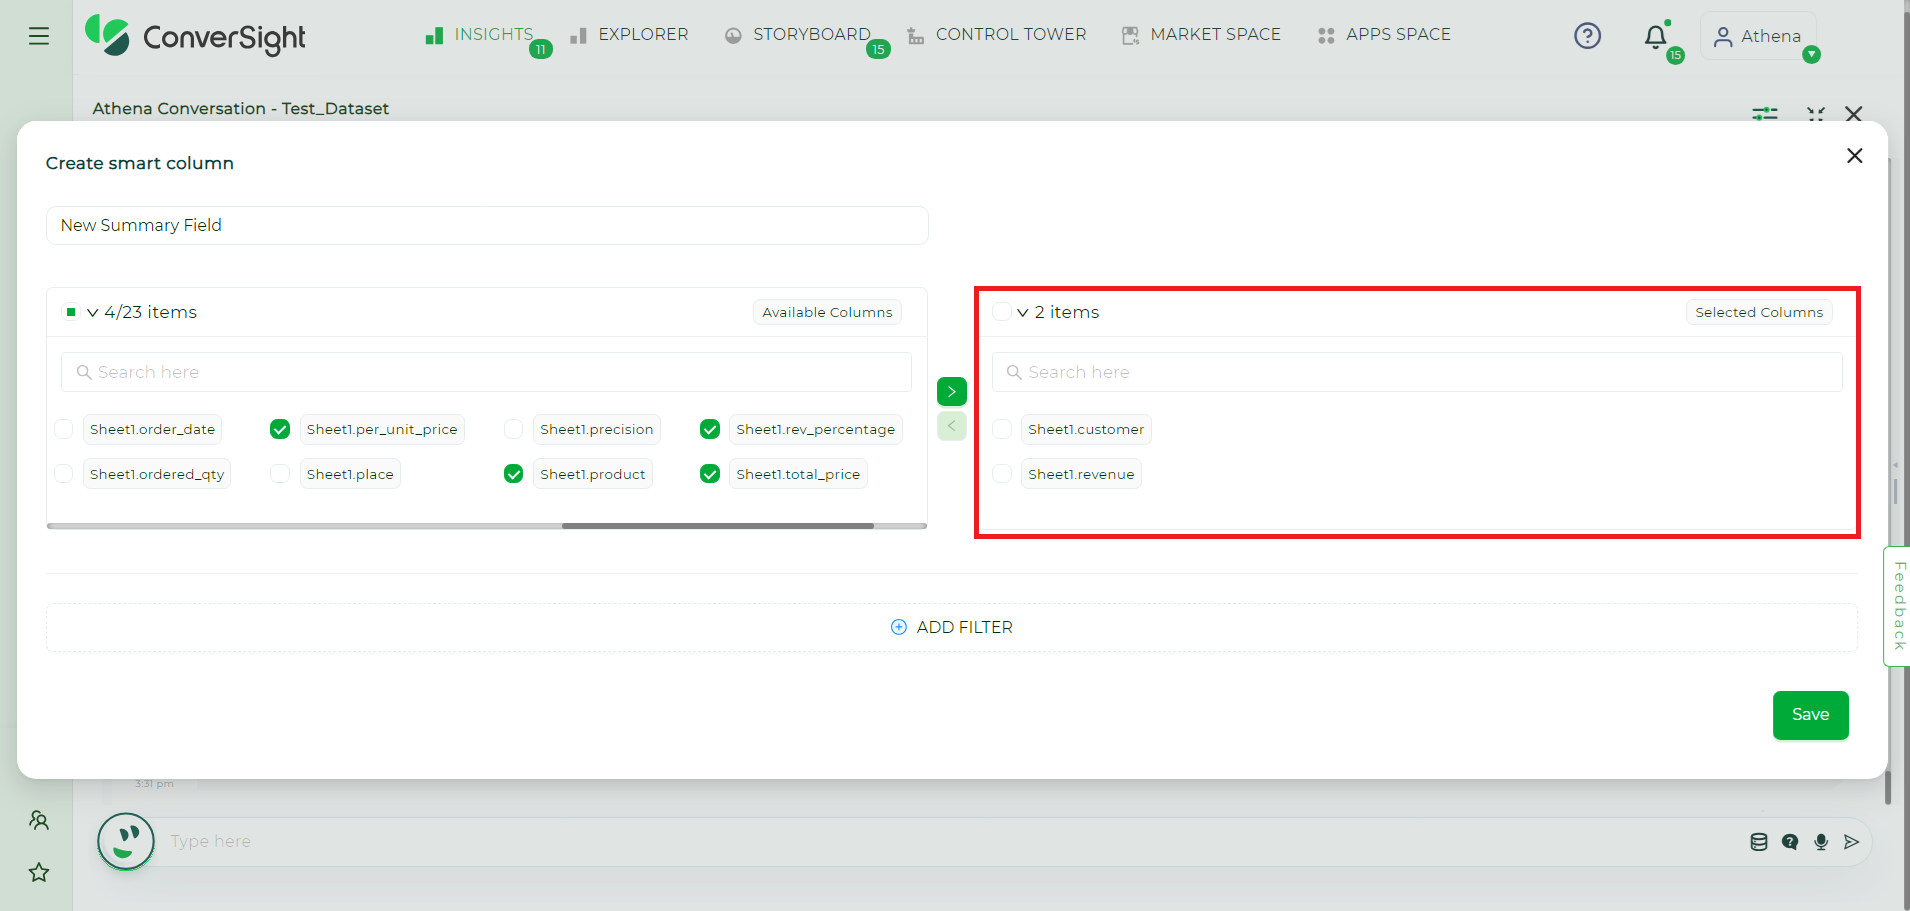
Selected Columns#
Step 5: You can apply filters to the columns that you have selected by clicking on the Add Filter button.
For example,
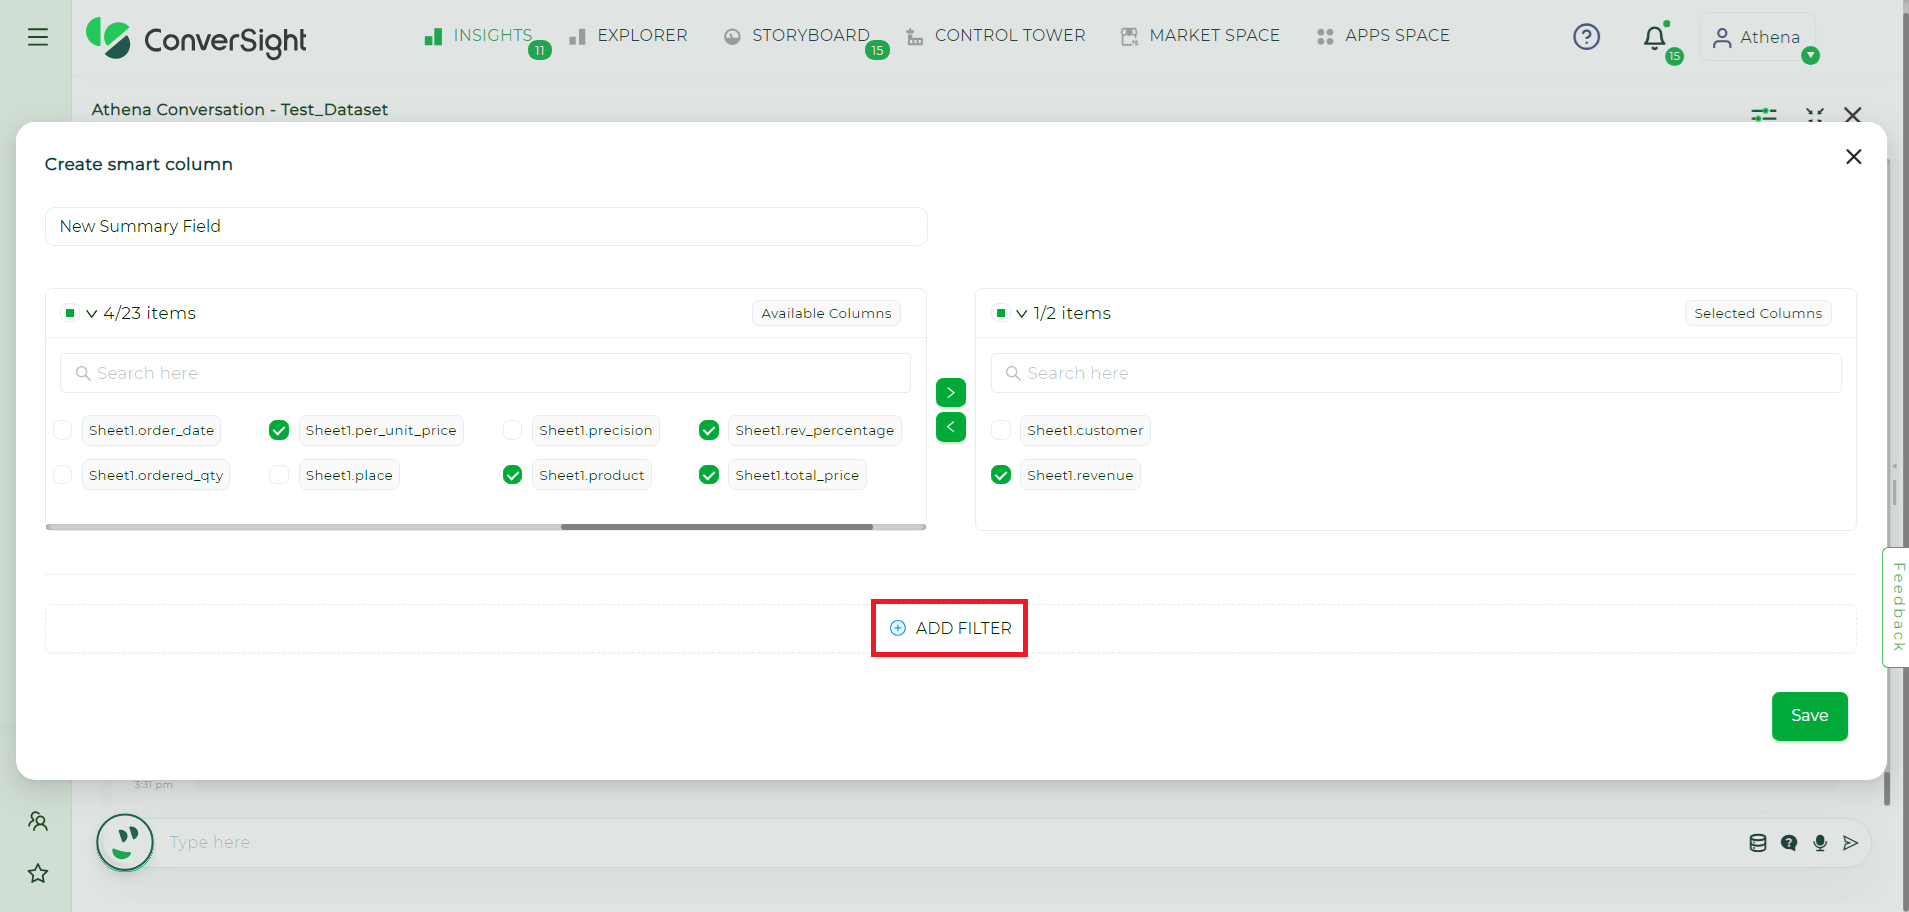
Add Filter#
Step 6: You can choose the column on which to apply a filter from the Select Column dropdown menu.
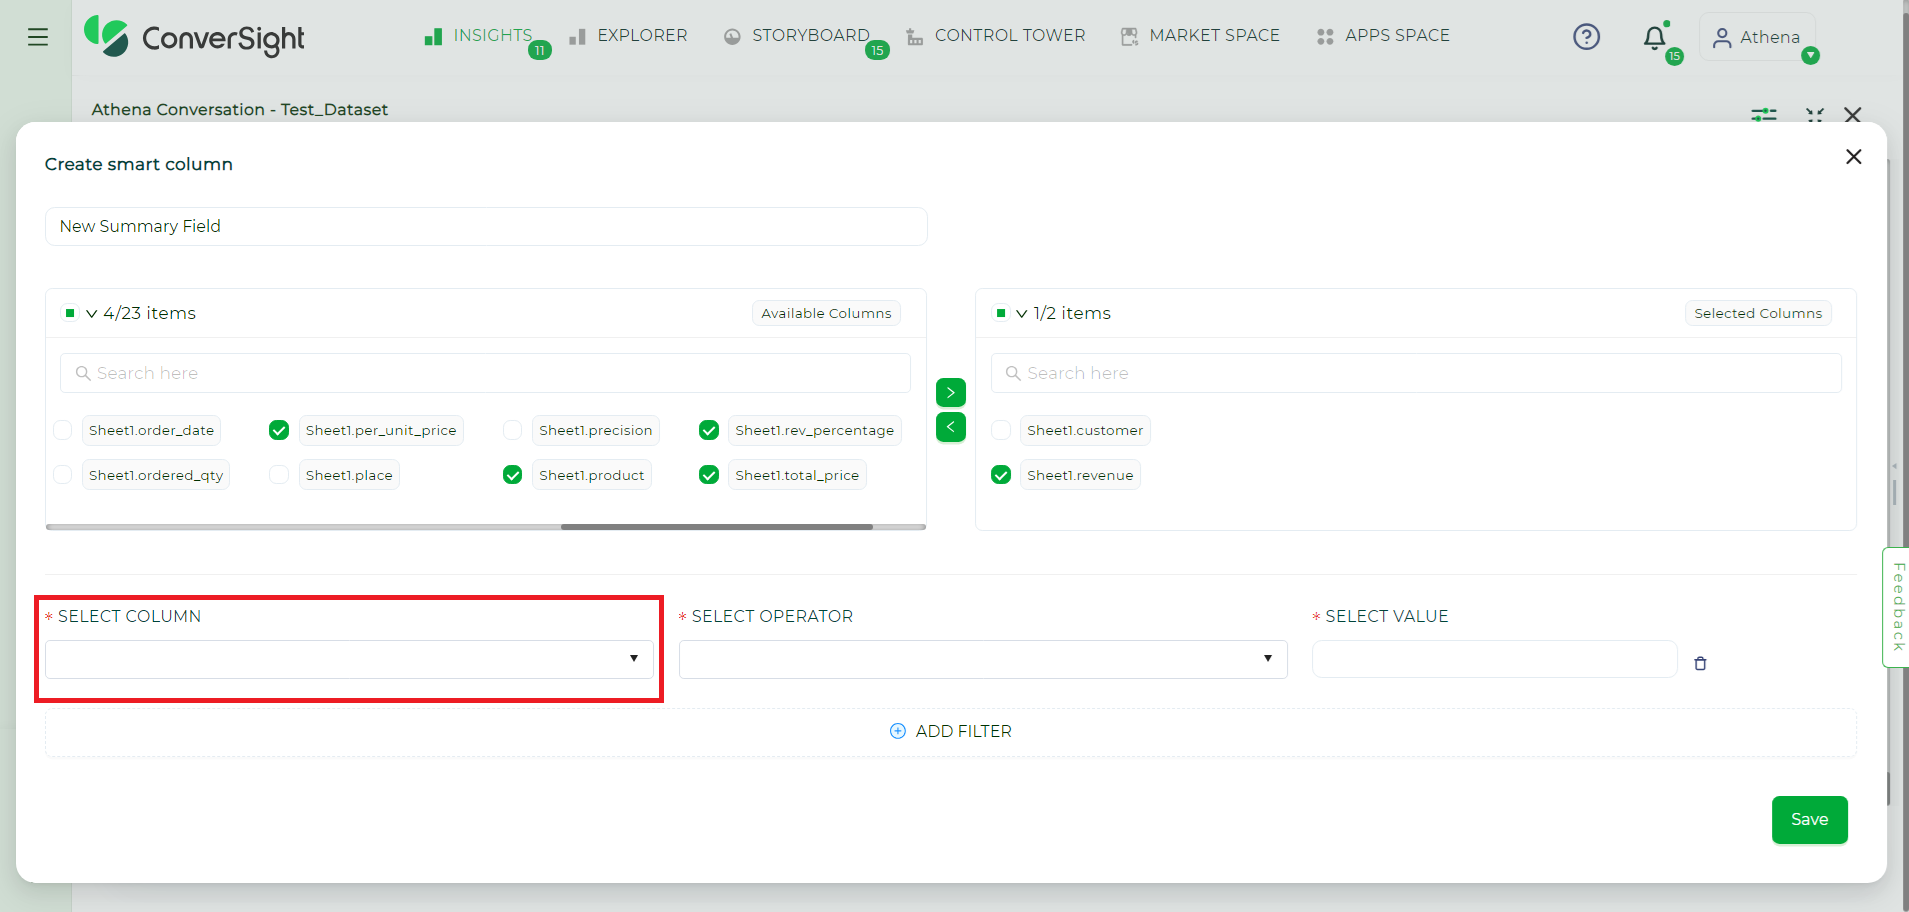
Select Column#
Step 7: Choose operators and values from SELECT OPERATOR and SELECT VALUE dropdown menu respectively to apply the filter in your Smart Column.
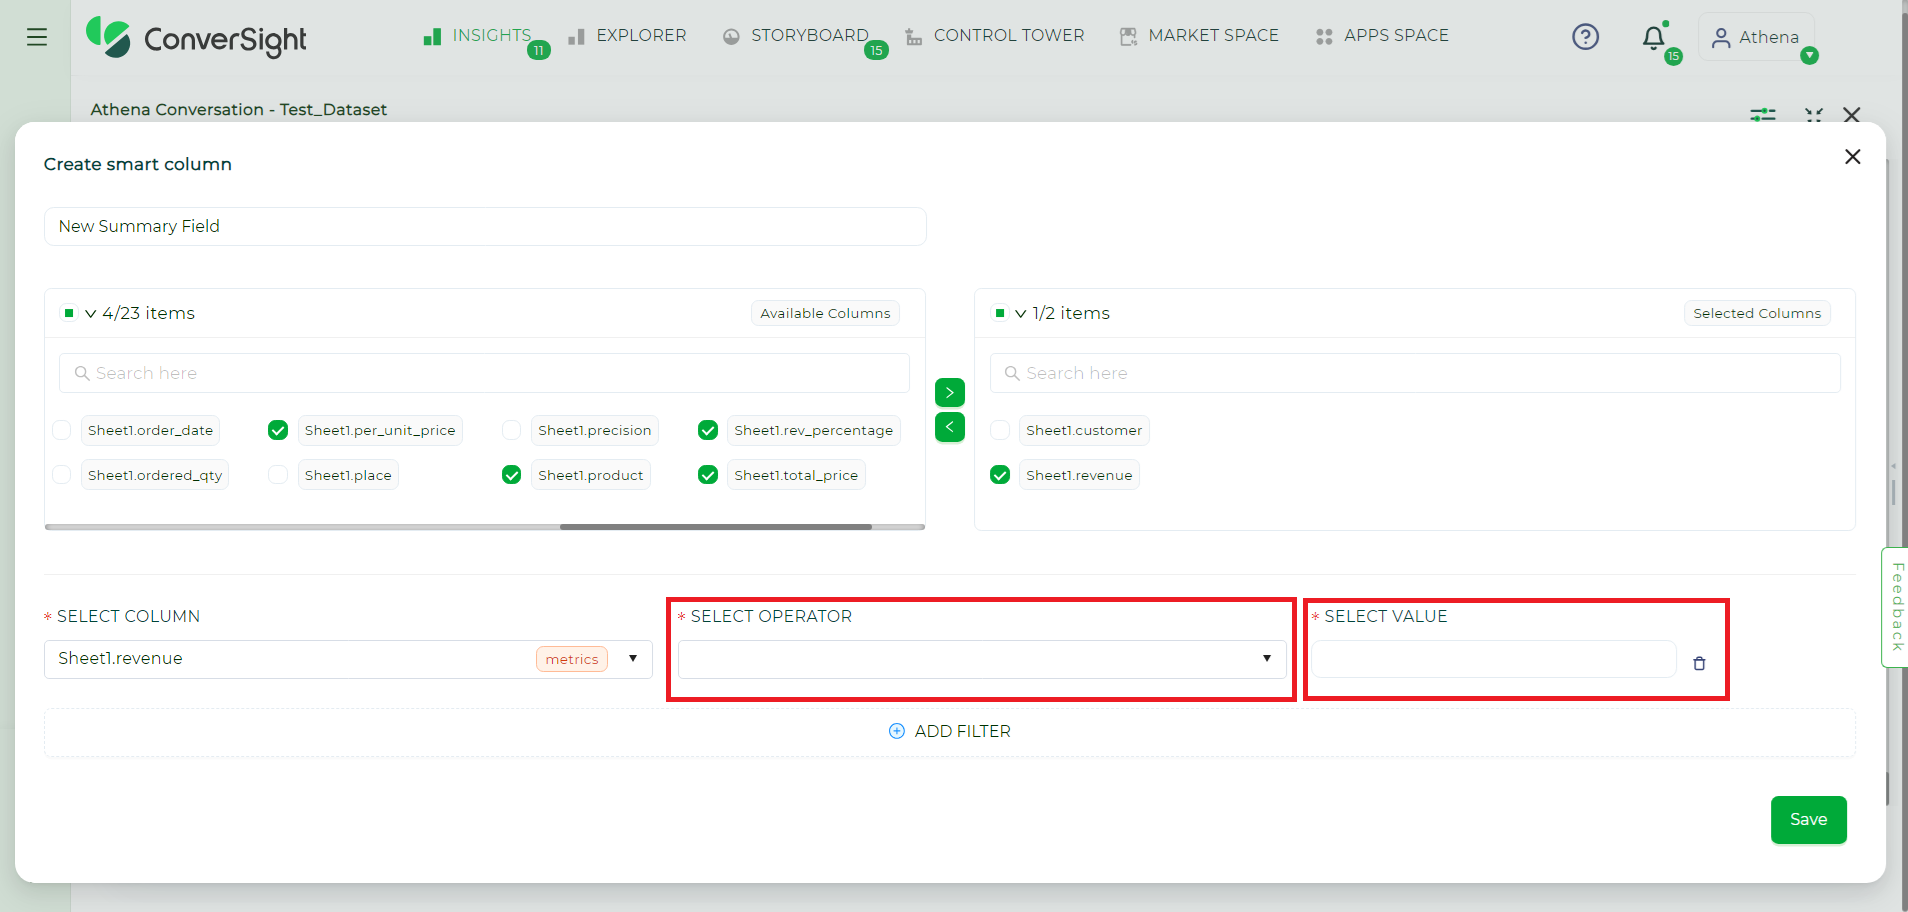
Filtering Conditions#
Step 8: You can add multiple filters on your smart column by clicking on Add Filter button.
Step 9: Save your changes for future use by clicking on the ![]() button.
button.